Manage: Overview
The Manage section.
In addition to the Explore and My Library sections, Company Admins have access to a third tab—Manage—in their Monotype Fonts account which acts as the control center for all admin-related functions and features. You can configure everything you need to make Monotype Fonts work for you—manage all your teams, set up authentication, define roles & permissions, and a lot more from one central location.
In this article, we will take a look at the following topics:
Overview.
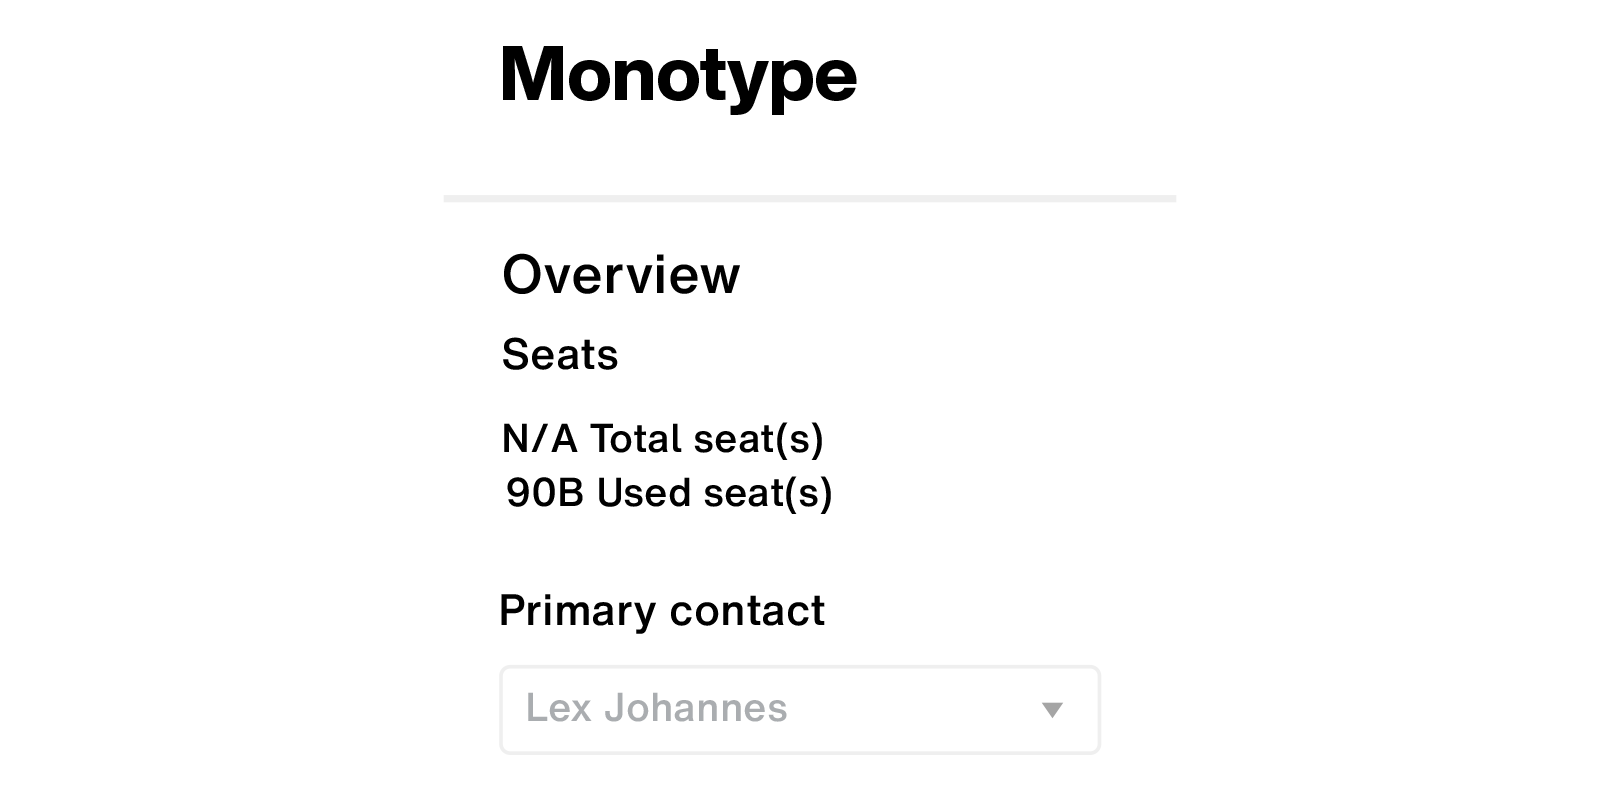
The Overview tab, as the name suggests, presents a quick overview of basic information such as the total number of seats available, used seats, primary contact, and in case of trial accounts—additional information such as renewal date, number of days left in the trial etc.
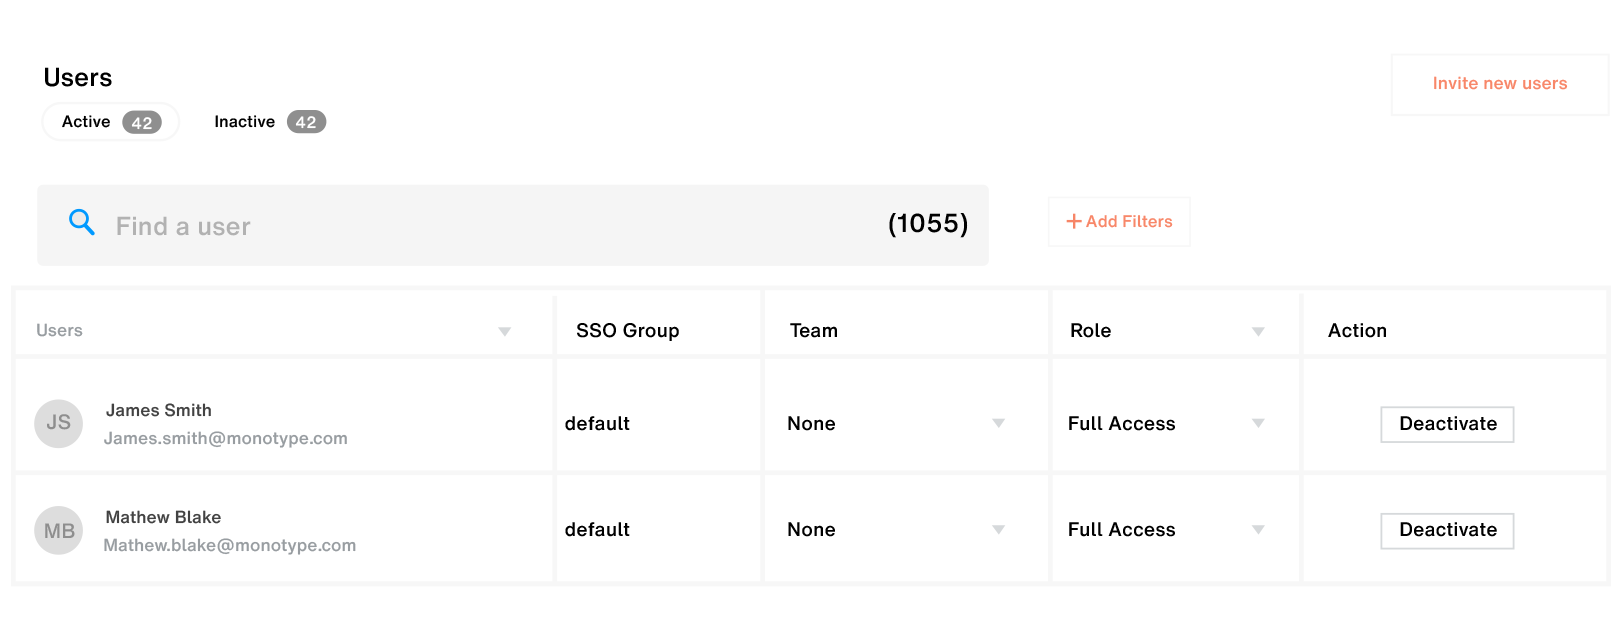
Users.
The Users tab provides a tabular view of all Monotype Fonts users in your company along with several configuration options, including a quick view of the number of active and inactive users.
Inviting new users.
To invite new users to your company:
-
Click on the Invite new users button in the top-right corner of the Users section.

-
In the “Invite users to your company” dialog, enter a comma (,) separated list of email addresses of users you’d like to invite.

-
You may also choose to pre-assign roles to your users when inviting them by clicking on the drop-down menu beside the email address(es) field.
-
Once you’ve entered a list of users you’d like to invite, click on the Send button to send them an invitation link via email.

Let’s take a look at the components of the Users view in detail now.
Users list.
The Users list is present in a tabular format sectioned into columns with the following details:
-
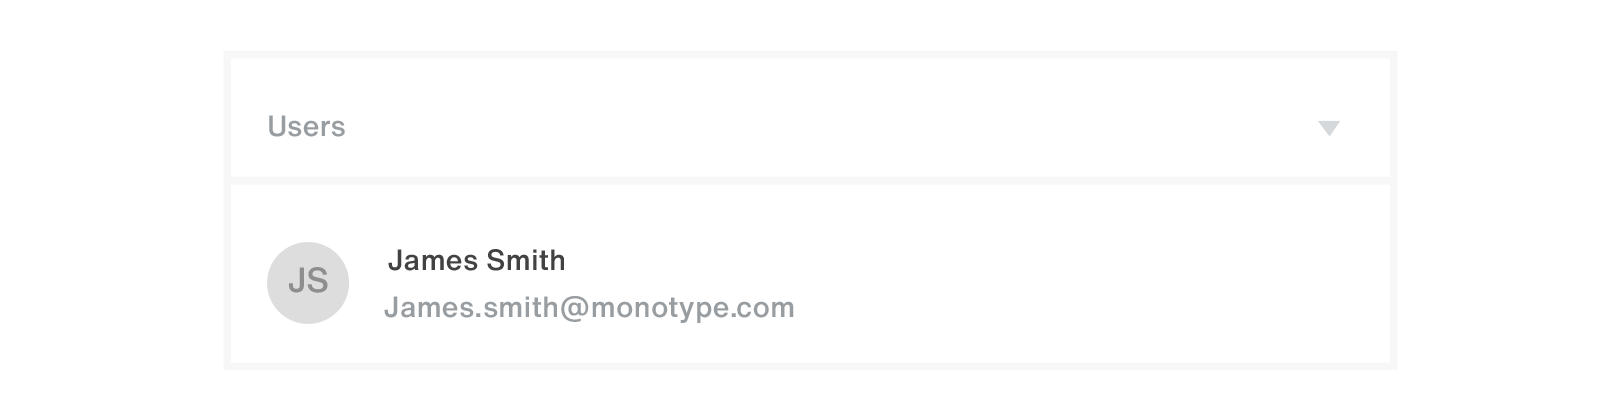
Users: This column, as the name suggests, displays users’ names, email and profile photo.
-
SSO group.
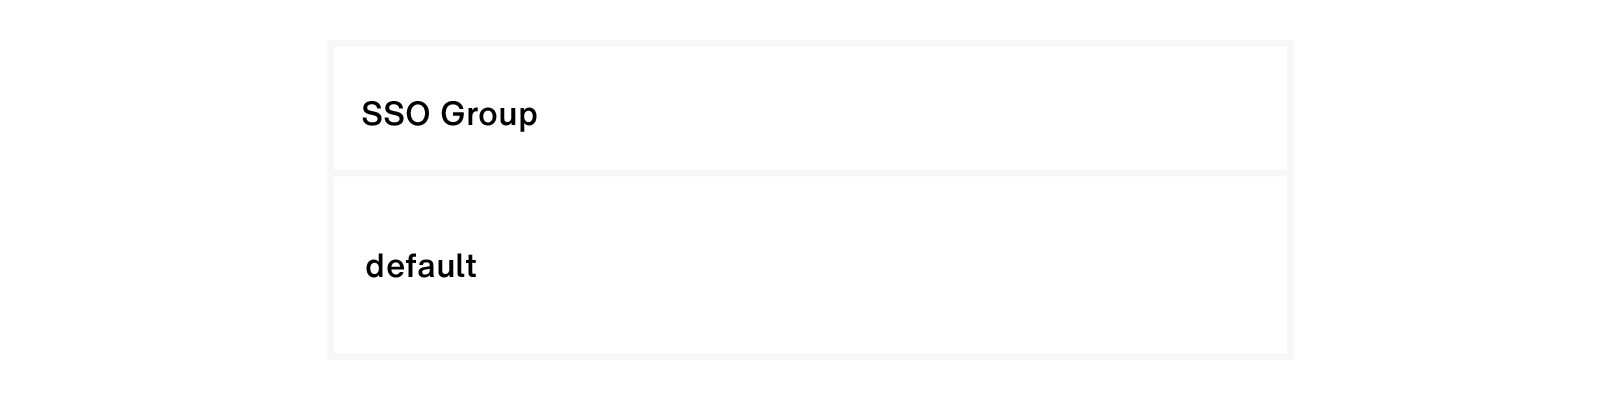
In the case of users logging into Monotype Fonts via a single sign-on method, this column displays the name of the group they belong to. Groups in Monotype Fonts are usually mapped to the groups defined in your company’s active directory system. Unmapped users appear as belonging to a “default” group. -
Team: Names of the teams your users belong to.

-
Role: Roles assigned to your users.

-
Action: This column provides the option to activate or deactivate users.

User search.

The search bar at the top of the Users list allows you to run a quick search for a particular user(s) in your company.
View filters.
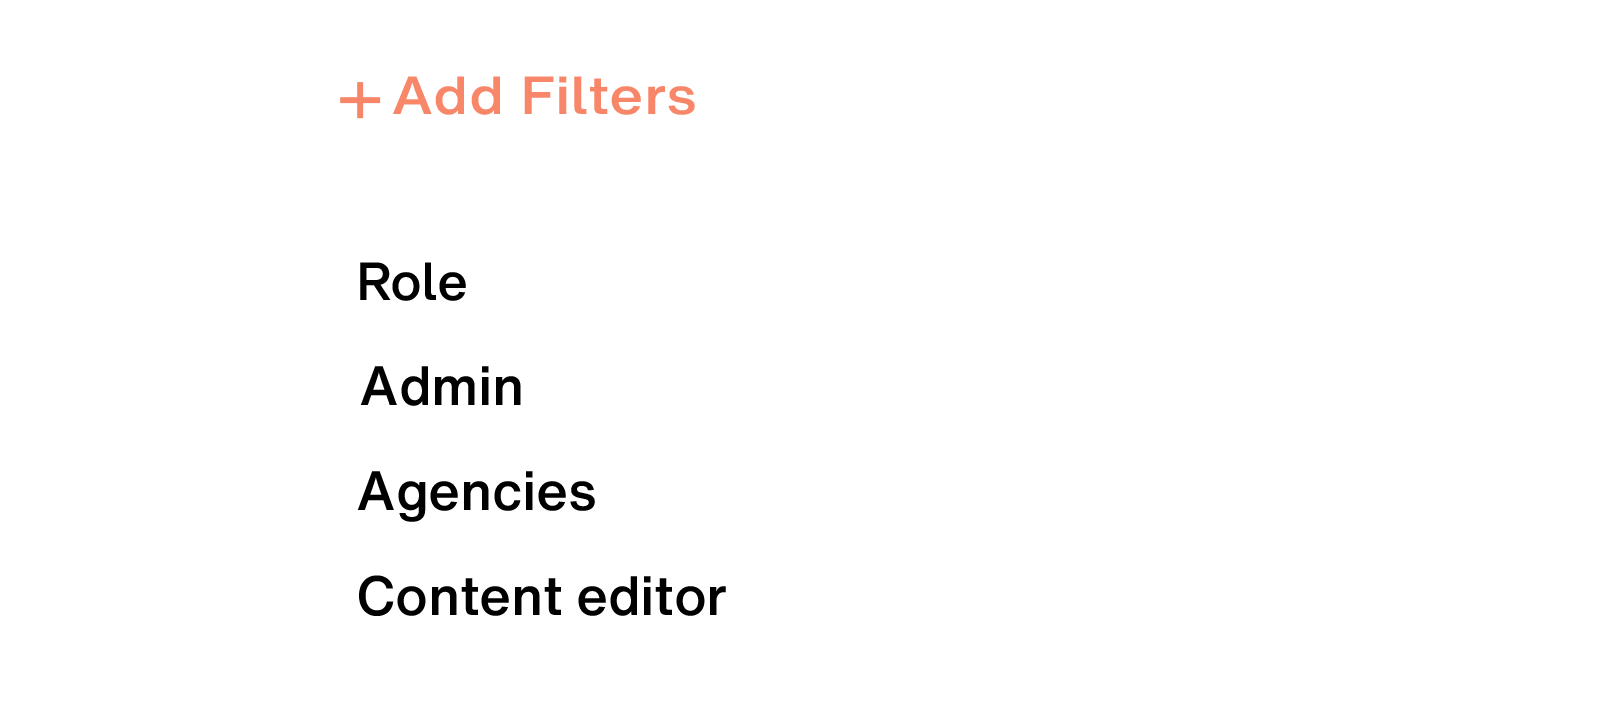
The Add filters button next to the user search bar allows you to filter the User list based on Roles and Teams.
Roles (and permissions).
The Roles tab allows you to create customized permission-sets for users and teams in your company. Your Monotype Fonts account has 2 non-editable roles pre-built—Admin and Full Access. You can create up to 5 additional custom roles according to your teams’ needs.

To create custom roles click on the + button next to the Roles title:

Let’s take a look at the permissions you can configure for your custom roles:
Font syncing.
-
Install any font or family: Allows users to sync any font or family from the inventory using the Monotype App.
-
Install any font or family from a shared font list only: Allows users to sync fonts and families contained only in font lists shared with them using the Monotype App.
Font downloads.
-
Download font files: Allows users to download any of the fonts or families from the inventory.
-
Download font files from shared font list only: Allows users to download fonts and families contained only in font lists shared with them.
Web fonts.
-
Download web font projects SHKs: Allows users to download SHKs or self-hosting kit(s) for web fonts.
-
Access to web project embed code: Allows users to generate Javascript and CSS embed codes for web fonts.
Organize & share.
-
Create font lists: Allows users to create font lists.
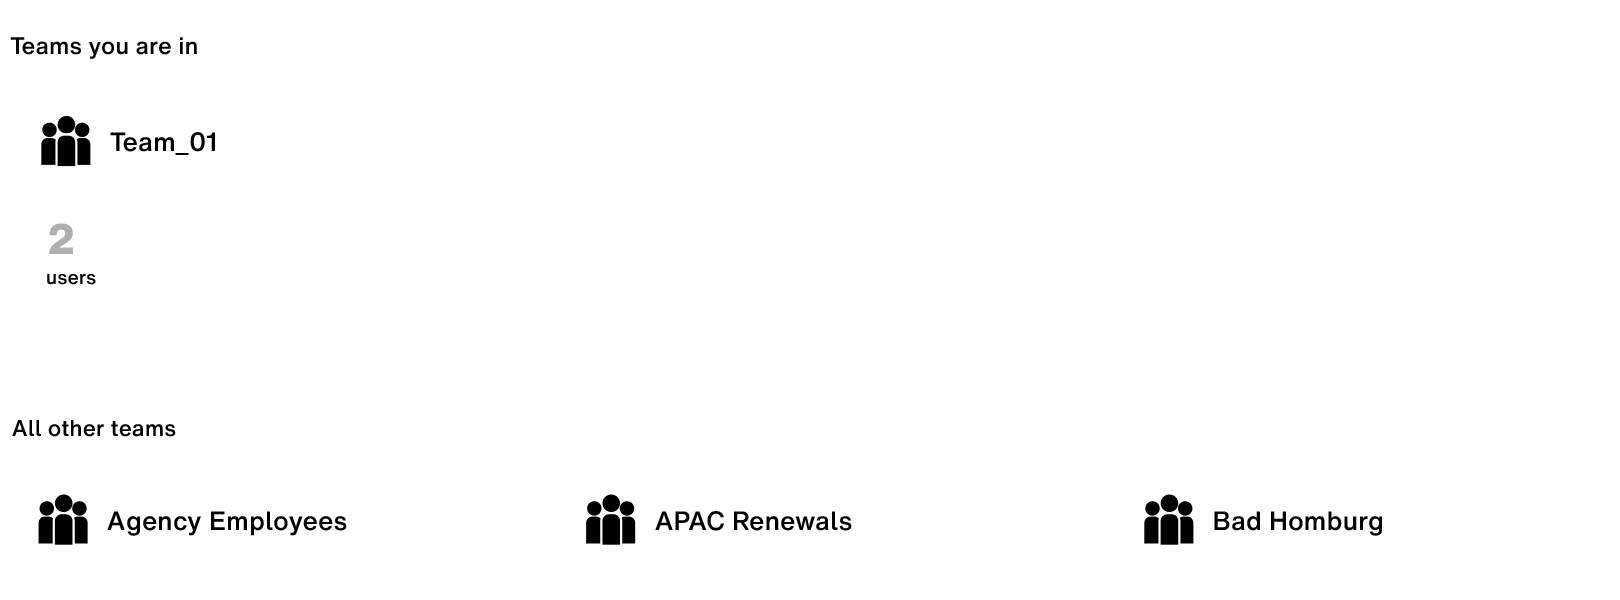
Teams.
The Teams tab provides a quick view of all the teams you’ve set up in Monotype Fonts, starting with a list of all the teams you are a part of:
Let’s take a look at how you can utilize the features on the Teams page to manage user and teams in your company:
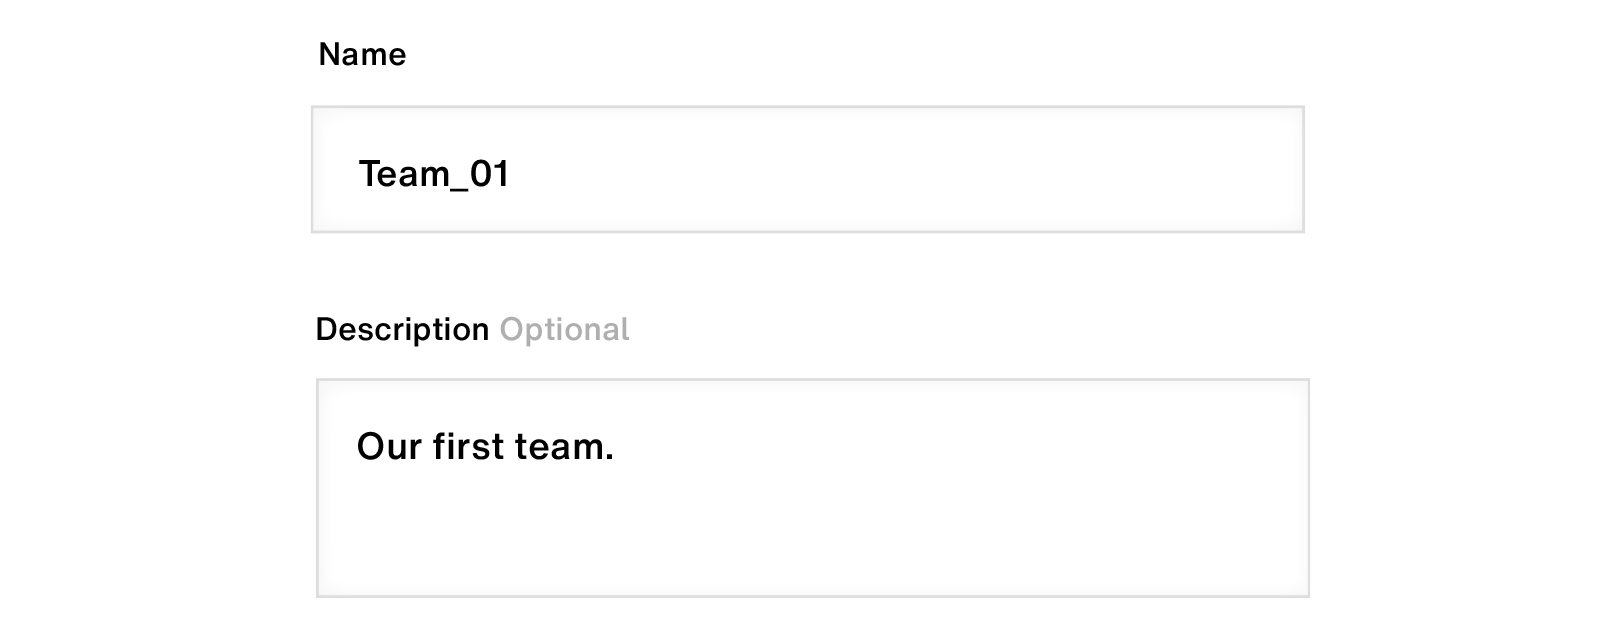
Creating a team.
-
Begin by clicking on the + button next to the Teams title.

-
In the “New Team” dialog, enter a Name for your team, and optionally, a Description.
-
Click Done to finish creating your team.

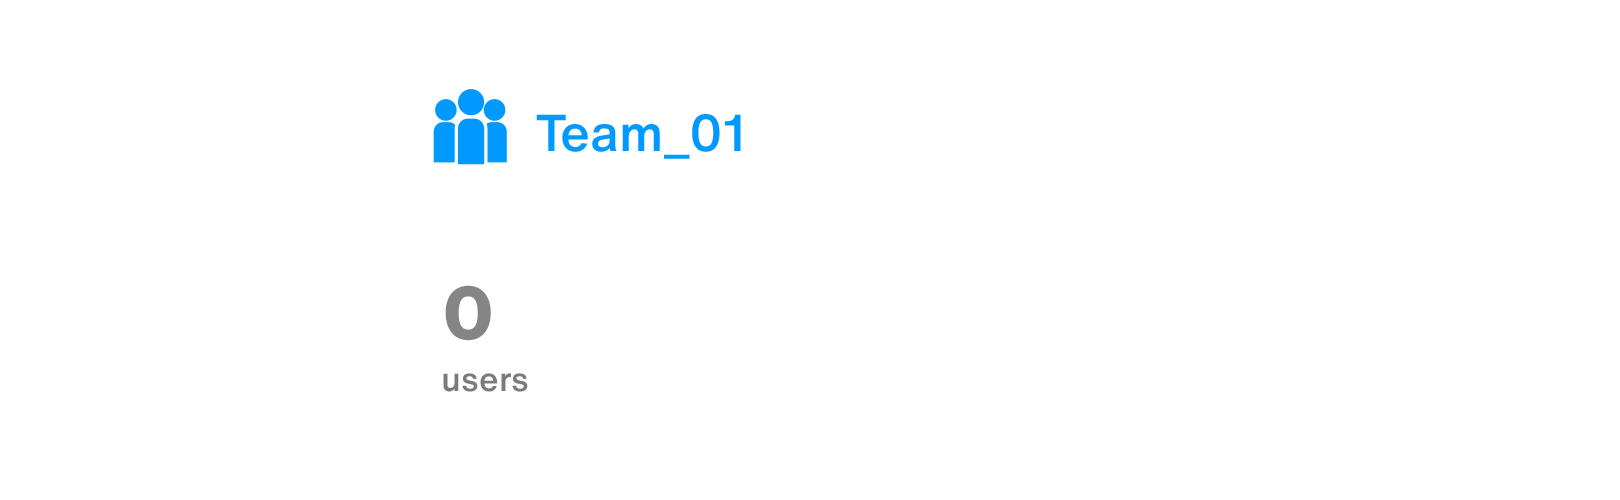
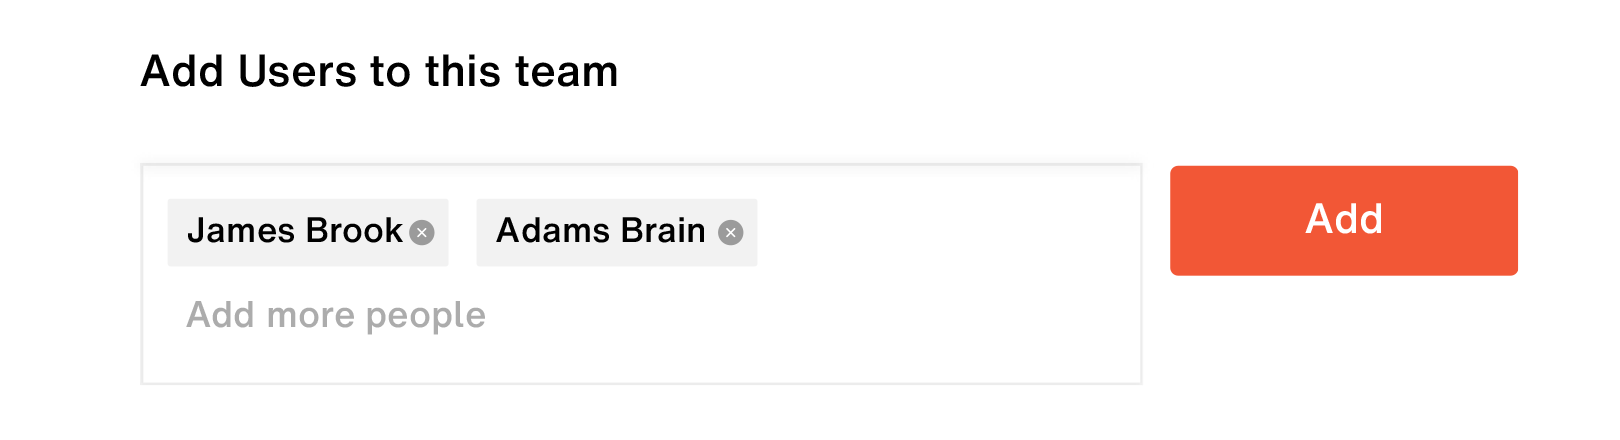
Adding users to a team.
-
Click on the name of a team you wish to add users to—in this case the sample team “Team_01” we created above.
-
Next, in the team dialog, under the “Add users to this team”, add users by typing in their email address of name and click on the Add button.
-
Click Done to finish adding users to your team.

Removing users from a team.
-
Click on the name of a team you wish to remove users from.

-
In the team dialog, remove a user by clicking on the remove icon beside their name(s).

You can also search for particular users using the search bar at the top of the dialog.

-
Click Done to finish making edits to your team.
Deleting a team.
-
Click on the name of the team you wish to delete.

-
In the team dialog, click on the Delete team button in the top-right corner to delete the team.

SSO.
The SSO tab allows you to map your company’s active directory Groups with Teams in Monotype Fonts.

More on this topic in SSO mapping: Mapping active directory Groups with Teams in Monotype Fonts.
Tags.
The Tags section allows Company Admins to add custom tags to fonts and families as an advanced filtering option. These tags are private, meaning they are only visible to users in your company—for example when searching for fonts, on family and font pages etc.

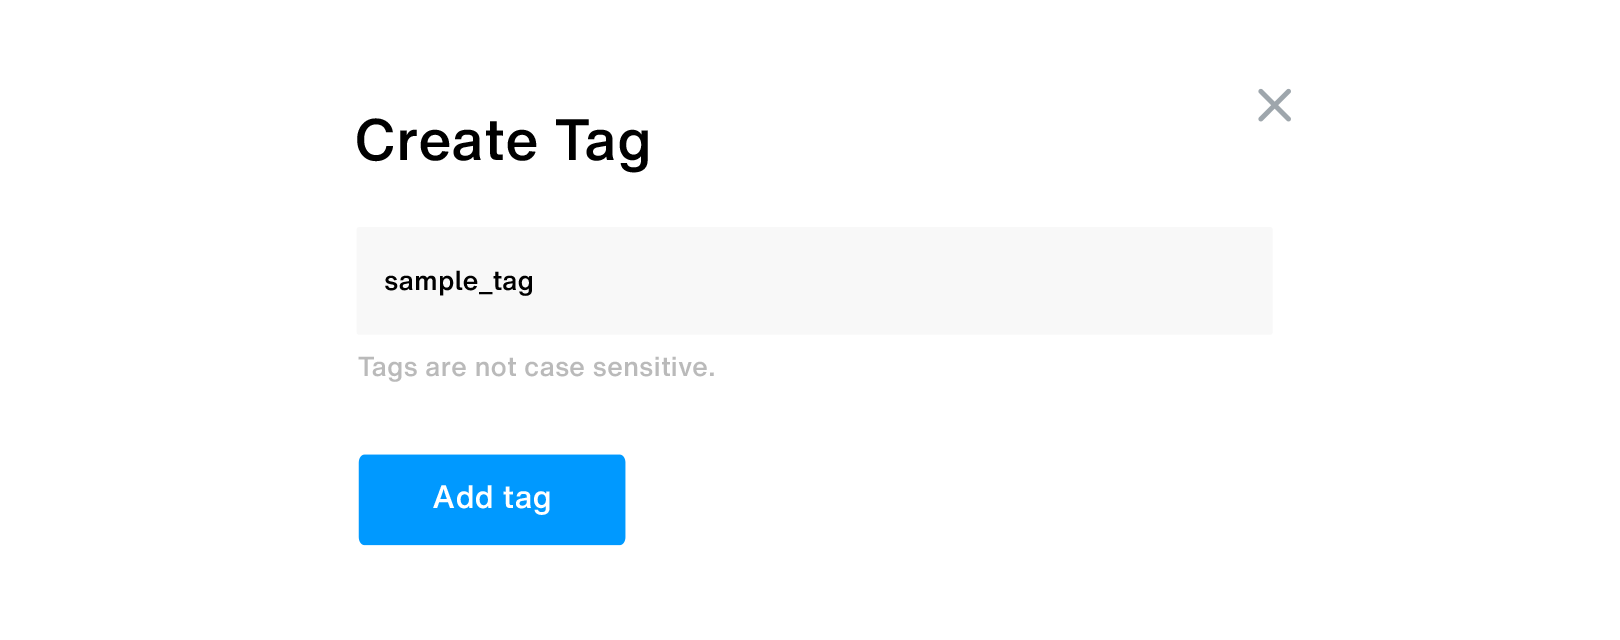
Creating tags.
To create a new tag:
-
Begin by clicking on the + button next to the “Add new tag” title on the Tags page.

-
In the “Create Tag” dialog enter a name for your tag—in this case, we’ll call it “sample_tag”. Note that tags are not case-sensitive.
-
Click on the Add Tag button to finish creating your tag.

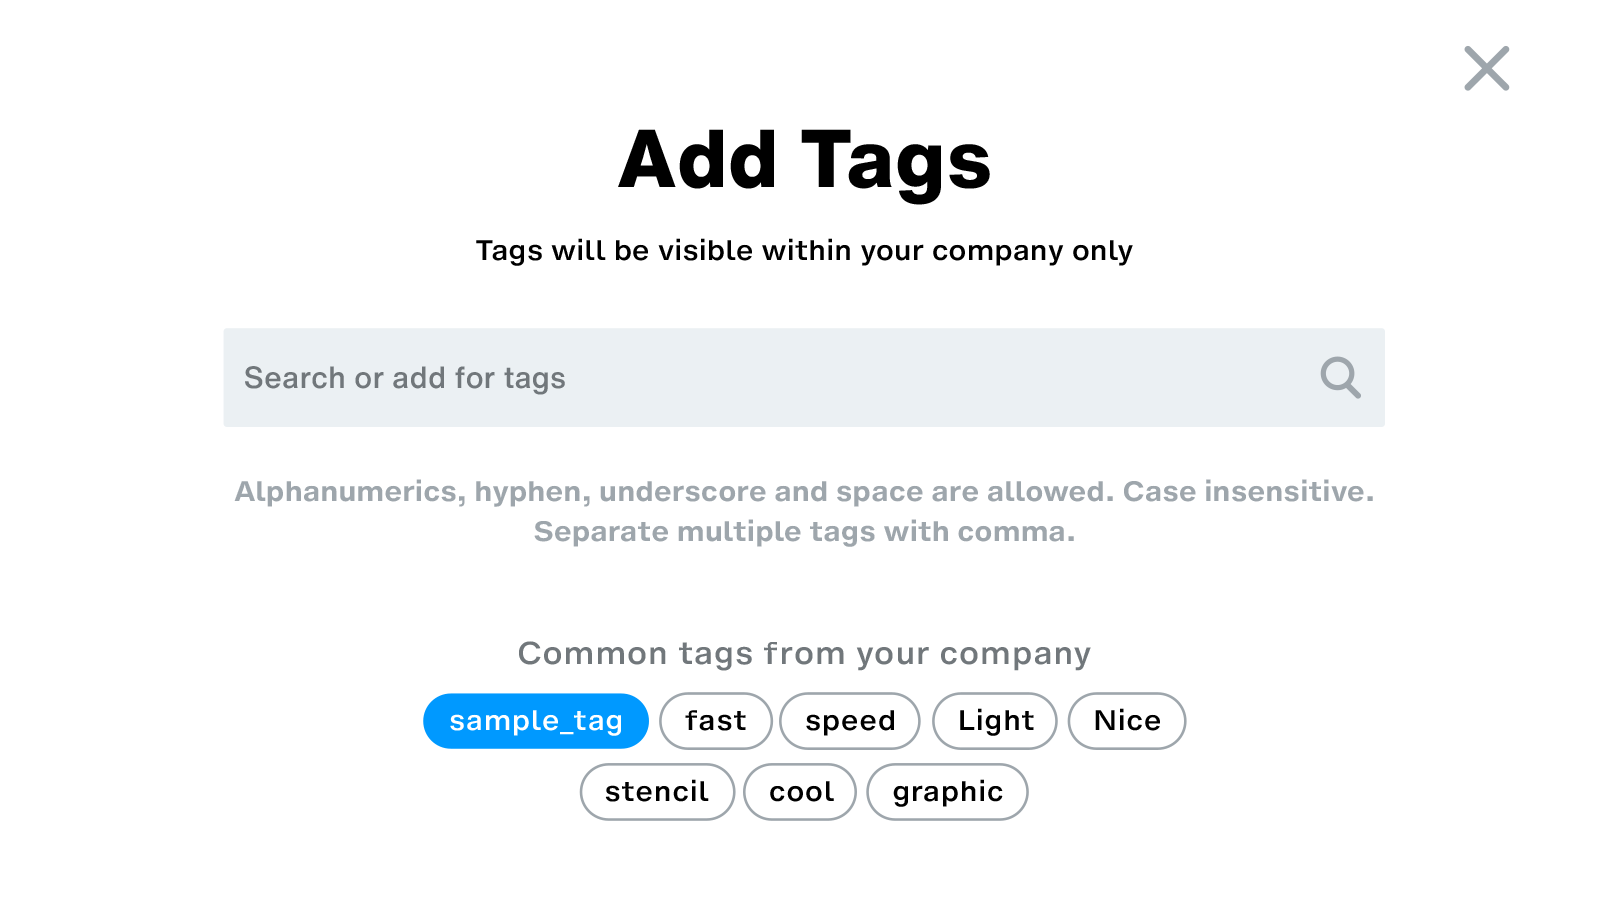
Adding tags to fonts and families.
To add a tag to a font or family:
-
Begin by navigating to the font/family page—in this case, let’s add the “sample_tag” tag we created in the section above to Futura Now, for example.
-
Once on the font/family page, scroll down to the bottom of the page to the font’s “About” section.
-
Here, from the “Private Tags” section, click on the + button.

-
In the “Add Tags” dialog, click and select tag(s) listed under “Common tags from your company”. You may also search for more tags using the search bar.
-
Once you’ve made your selection, click on the Add Tags button to finish.

Removing tags.
To remove tag(s) from your fonts, simply click on the cross-shaped remove icon against a tag’s name, as shown below:

Reports.
The Reports section provides a detailed view of how, and where, your web fonts have been performing. Font usage is reported as Pageviews for fonts deployed via web projects, and as Impressions for fonts contained in digital ads.
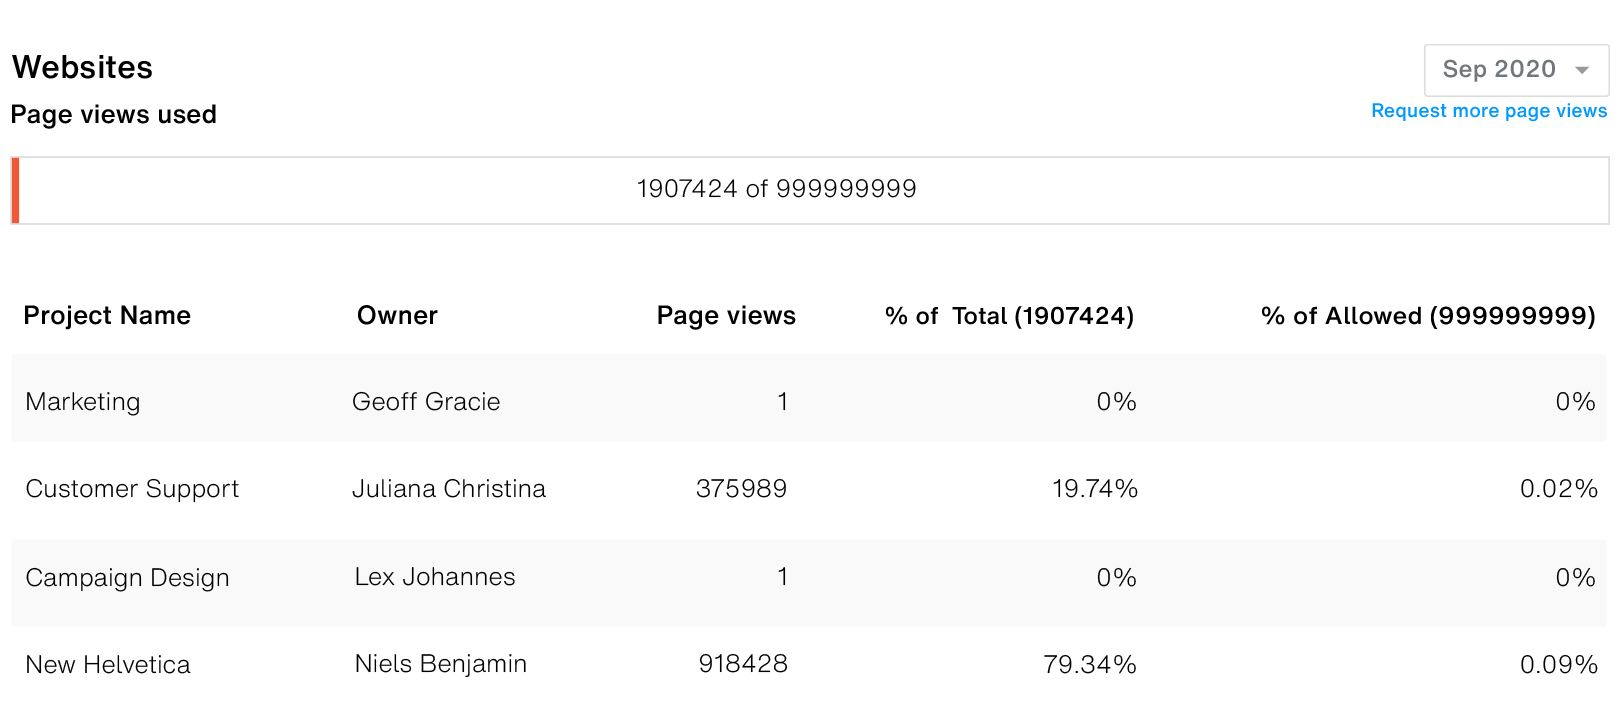
You can filter Pageviews and Impressions by month and request for more page views if you’ve exhausted your contractual limit(s) by clicking on the Request more page views link and getting in touch with our Customer Support team.
Third-party fonts.
Using the third-party fonts management dashboard, Company Admins can upload their existing font collection to Monotype Fonts, share access, and track & manage licensing—all with one, unified font-management experience.
Know more about third-party fonts in the third-party fonts section.
Download & contact.


Contact us.
Thank you for contacting us.
One of our support team members will contact you via email shortly.
Related content

Authentication & logging in.
There are multiple ways you and your teams can log into Monotype Fonts. Depending on your company’s integrations, you may have several options when it comes to authenticating users and logging them in.

Setting up single sign-on (SSO).
Monotype Fonts can be integrated with various SSO services such as ADFS, Okta and more, thus enabling your users to log in via your internal SSO page using your company’s network credentials. Alternatively, users can log in via SSO from enterprise.monotype.com.

SSO mapping.
Using the SSO mapping feature, you can map Teams in Monotype Fonts with your company’s existing active directory (AD) groups.