Managing imported fonts.
Your imported fonts dashboard provides all the information you need as a Company Admin, at-a-glance in a streamlined user-interface and allows you to upload, share and manage access to your fonts while also giving you the option to store licensing information to keep track of access and usage.
In this article, we will look at the following topics:
Your imported fonts dashboard: Quick-walkthrough.
In this section, we will look at each of the components of the imported fonts dashboard in greater detail.
Overview header.
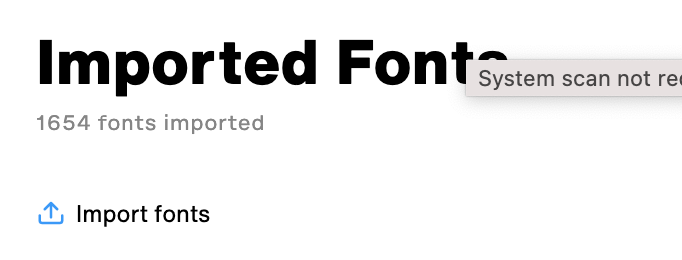
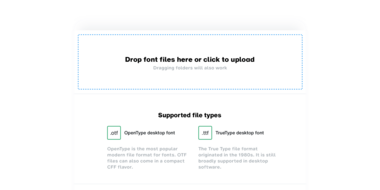
The header section on your imported fonts dashboard lists the number of imported fonts uploaded to your account. The Upload Imported Fonts button, as the name suggests, provides access to the font uploader.
Families & fonts.
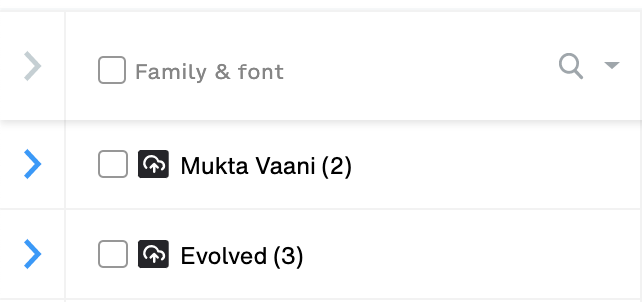
The Families & fonts column displays all your imported fonts grouped by family as expandable items. You can also search for a specific font or family by clicking on the search icon in the column header as shown below:
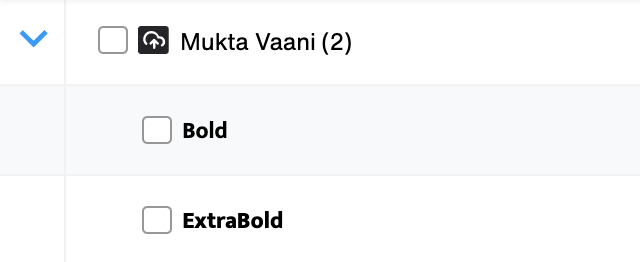
You can also view a complete list of fonts uploaded within a family by clicking on the expand button beside a family name:
You can also collapse all expanded family rows by simply clicking on the collapse all button beside the column header as shown below:
Style tags.
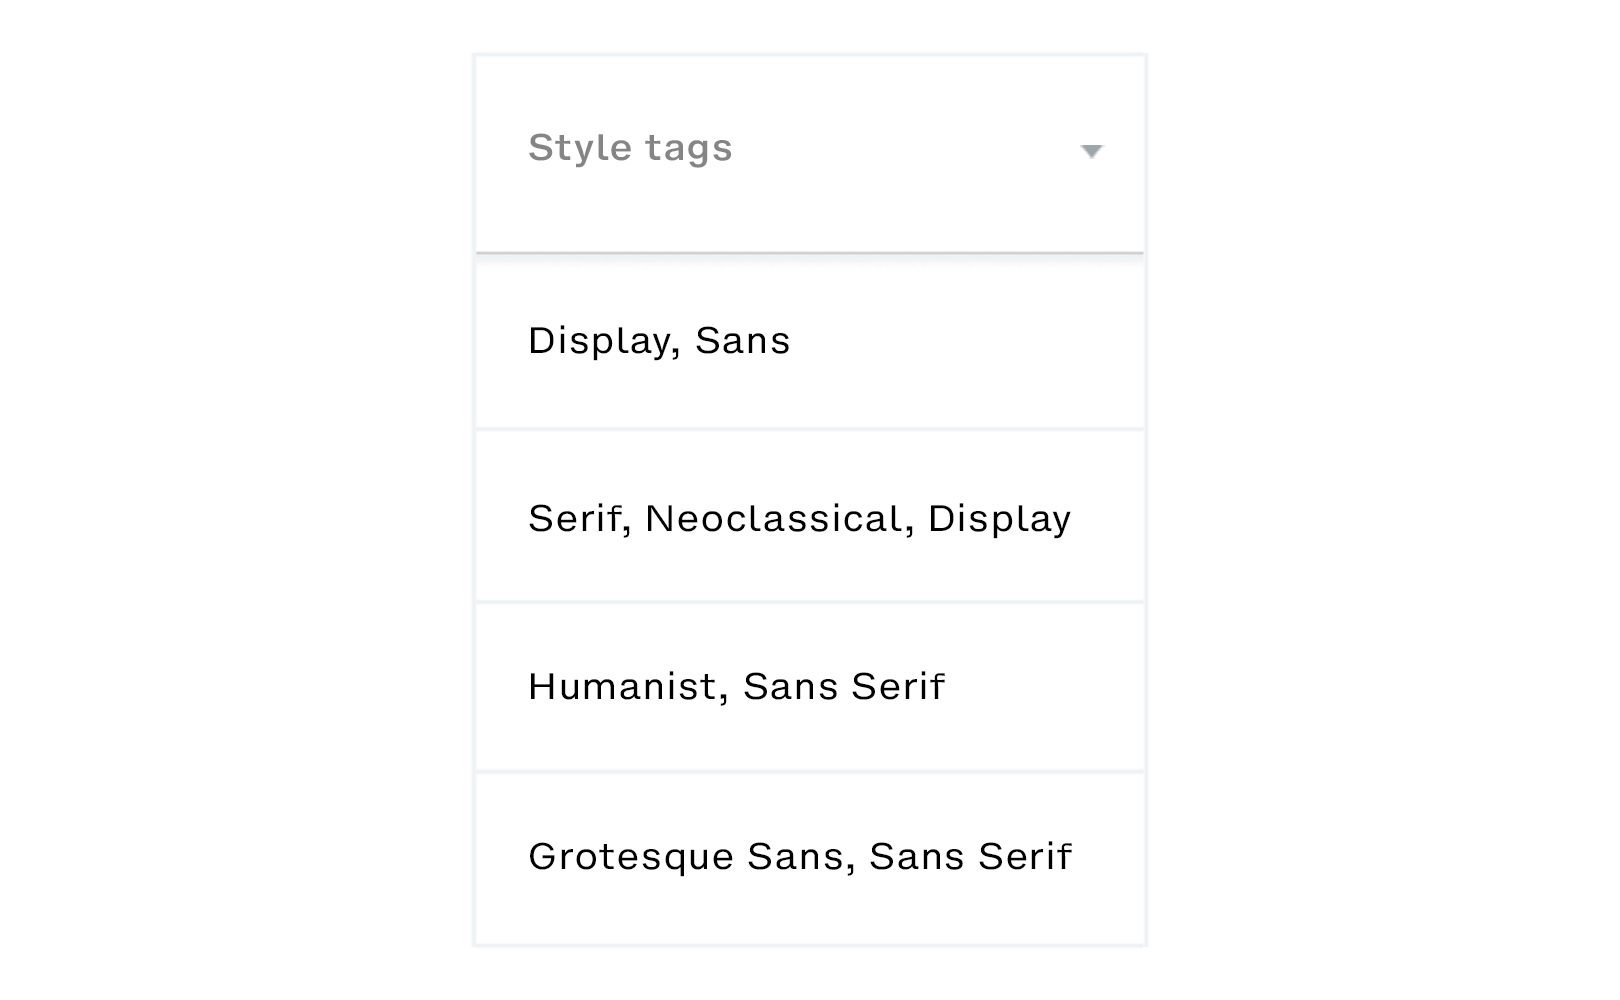
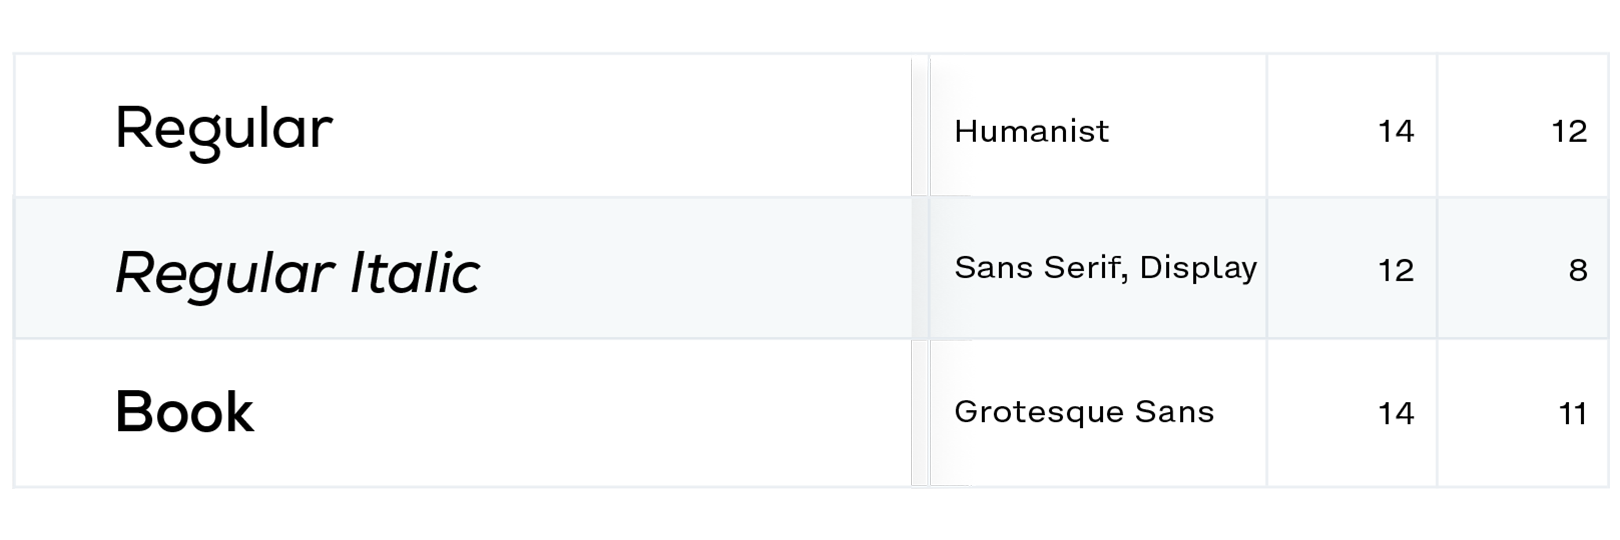
The Style tags column provides a view of font styles contained within a family. These style tags are automatically generated during the font upload process using our machine-learning algorithms.
Desktop and web font icons.
The icons next to a font family tell you whether the font family contains desktop fonts, web fonts, or both.
Licenses.
The Licenses column allows you to view and input the number of font licenses you own. You can do this, both—at the family level, defining the number of licenses for the family as a whole—or per font in a family, individually.
Defining the number of licenses for a family.
You can easily define the number of licenses for a family by clicking on the number field in a family row.
This will allow you to enter the number of licenses, either directly using your keyboard or by using the + and - buttons on either side of the input field, as shown below:
Defining the number of licenses per font.
You can edit the number of licenses per font even if you have defined the number of licenses at the family level. To do so, start by expanding the family row by clicking on the expand icon:
Next, click on the number field against a font in the Licenses column as shown below:
This will allow you to enter the number of licenses, either directly using your keyboard or by using the + and - buttons on either side of the input field, as shown below:
Note: Altering the number of licenses at the family level again will impact the number of licenses you may have set per font and will reflect the newly modified number of licenses for the family.
In use.
The In use column displays the number of font licenses in use, per family. This is denoted by a range in a min. - max. format based on the number of licenses in use, per font, contained in the family, as shown below:
Expand a family row to see the exact number of licenses, per font, in use.
Access.
The Access column provides a quick overview of the number of users in your teams who have access to a particular font or family.
Docs.
The Docs column allows you to view and upload licensing documents for your fonts.
Upload date.
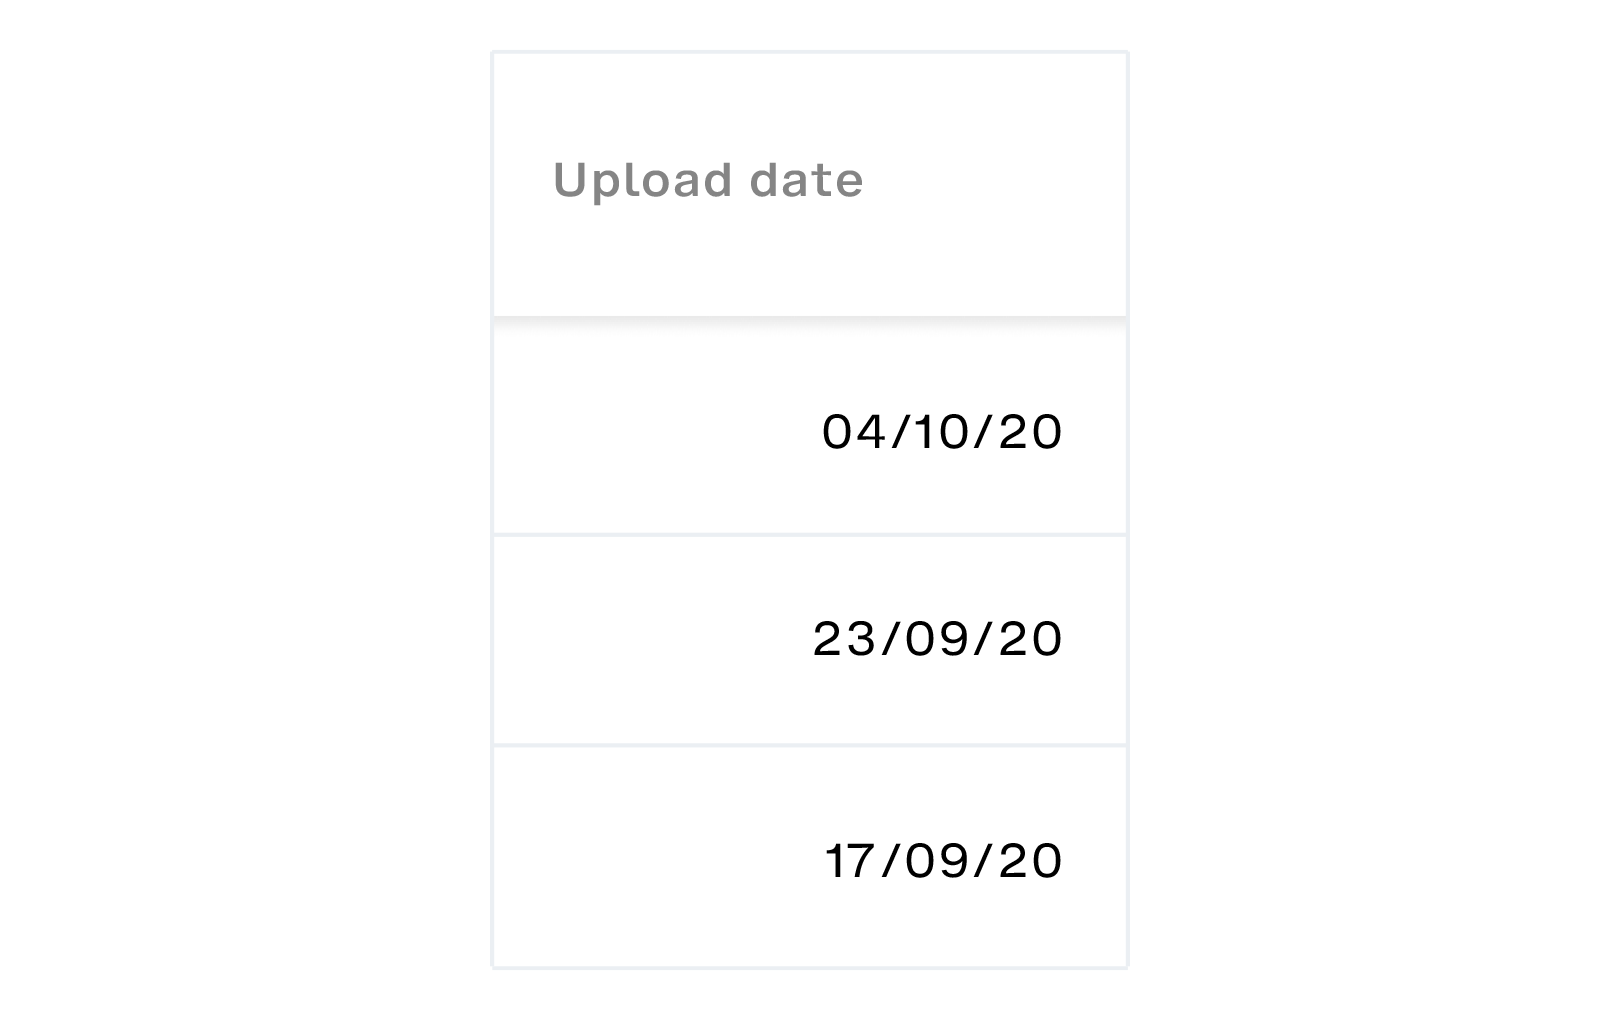
This column displays the date when the fonts were uploaded.
Uploaded by.
This column displays the name of the uploader.
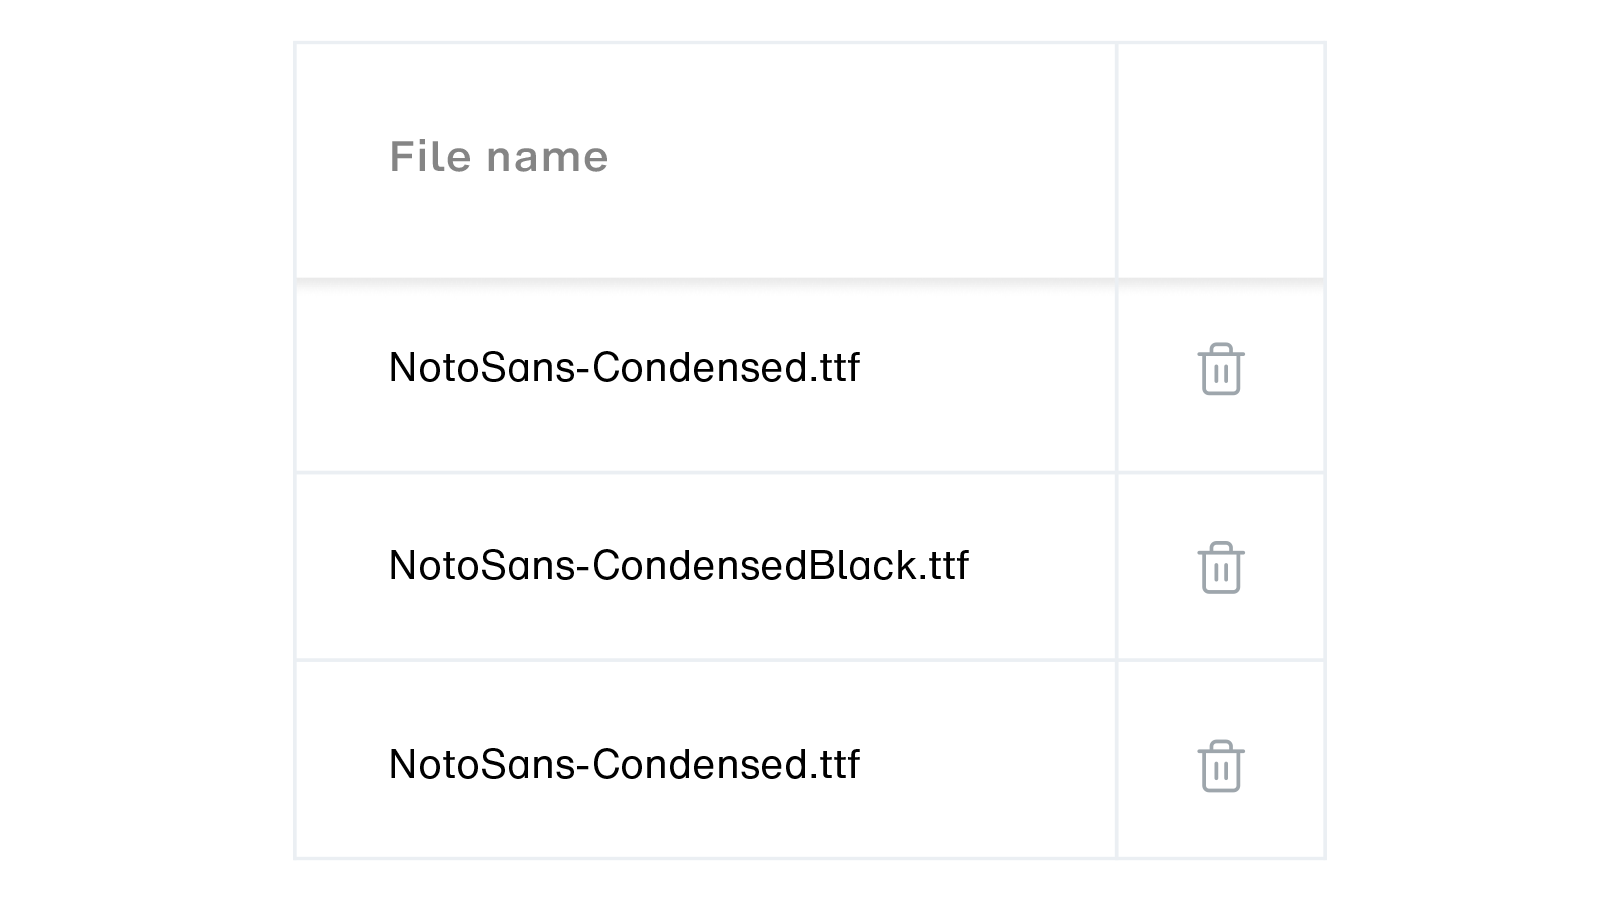
File name.
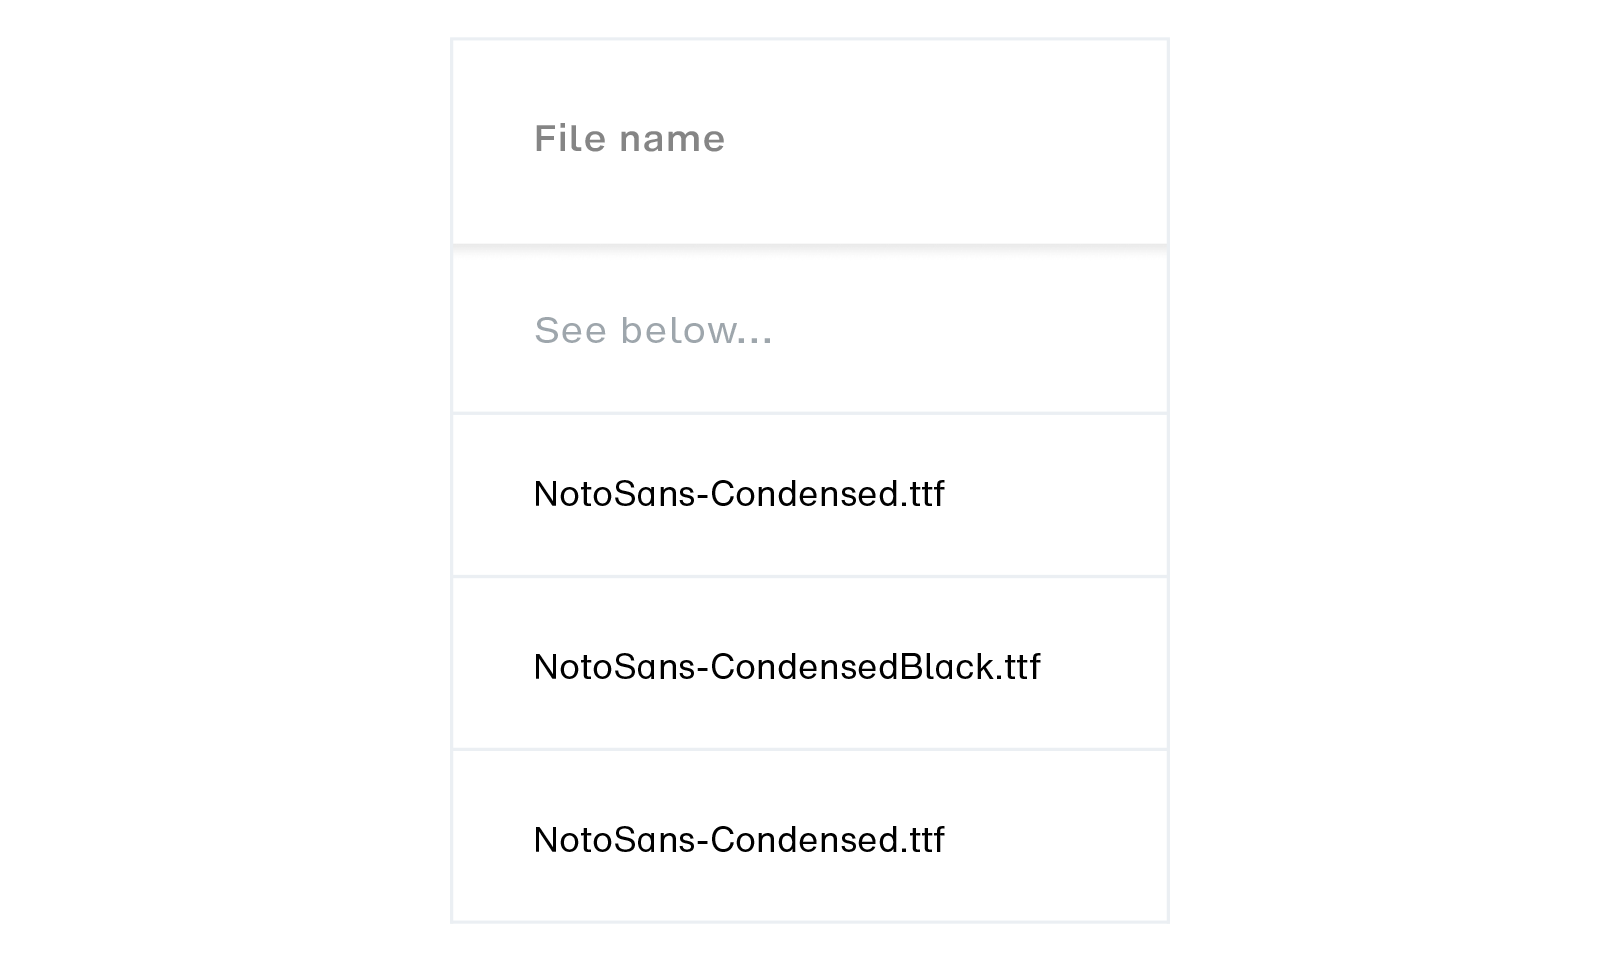
This column displays the file name(s) of the uploaded fonts. Expand a family row to view these details.
Removing imported fonts from your collection.
You can also remove families and individual fonts by clicking on the trash icon in the last column in a font or family row.
Managing access for imported fonts.
You can easily grant or revoke access for your users or teams to sync or download imported fonts. Here’s how:
Granting access.
-
In the Access column, click on the number field in a family row.
-
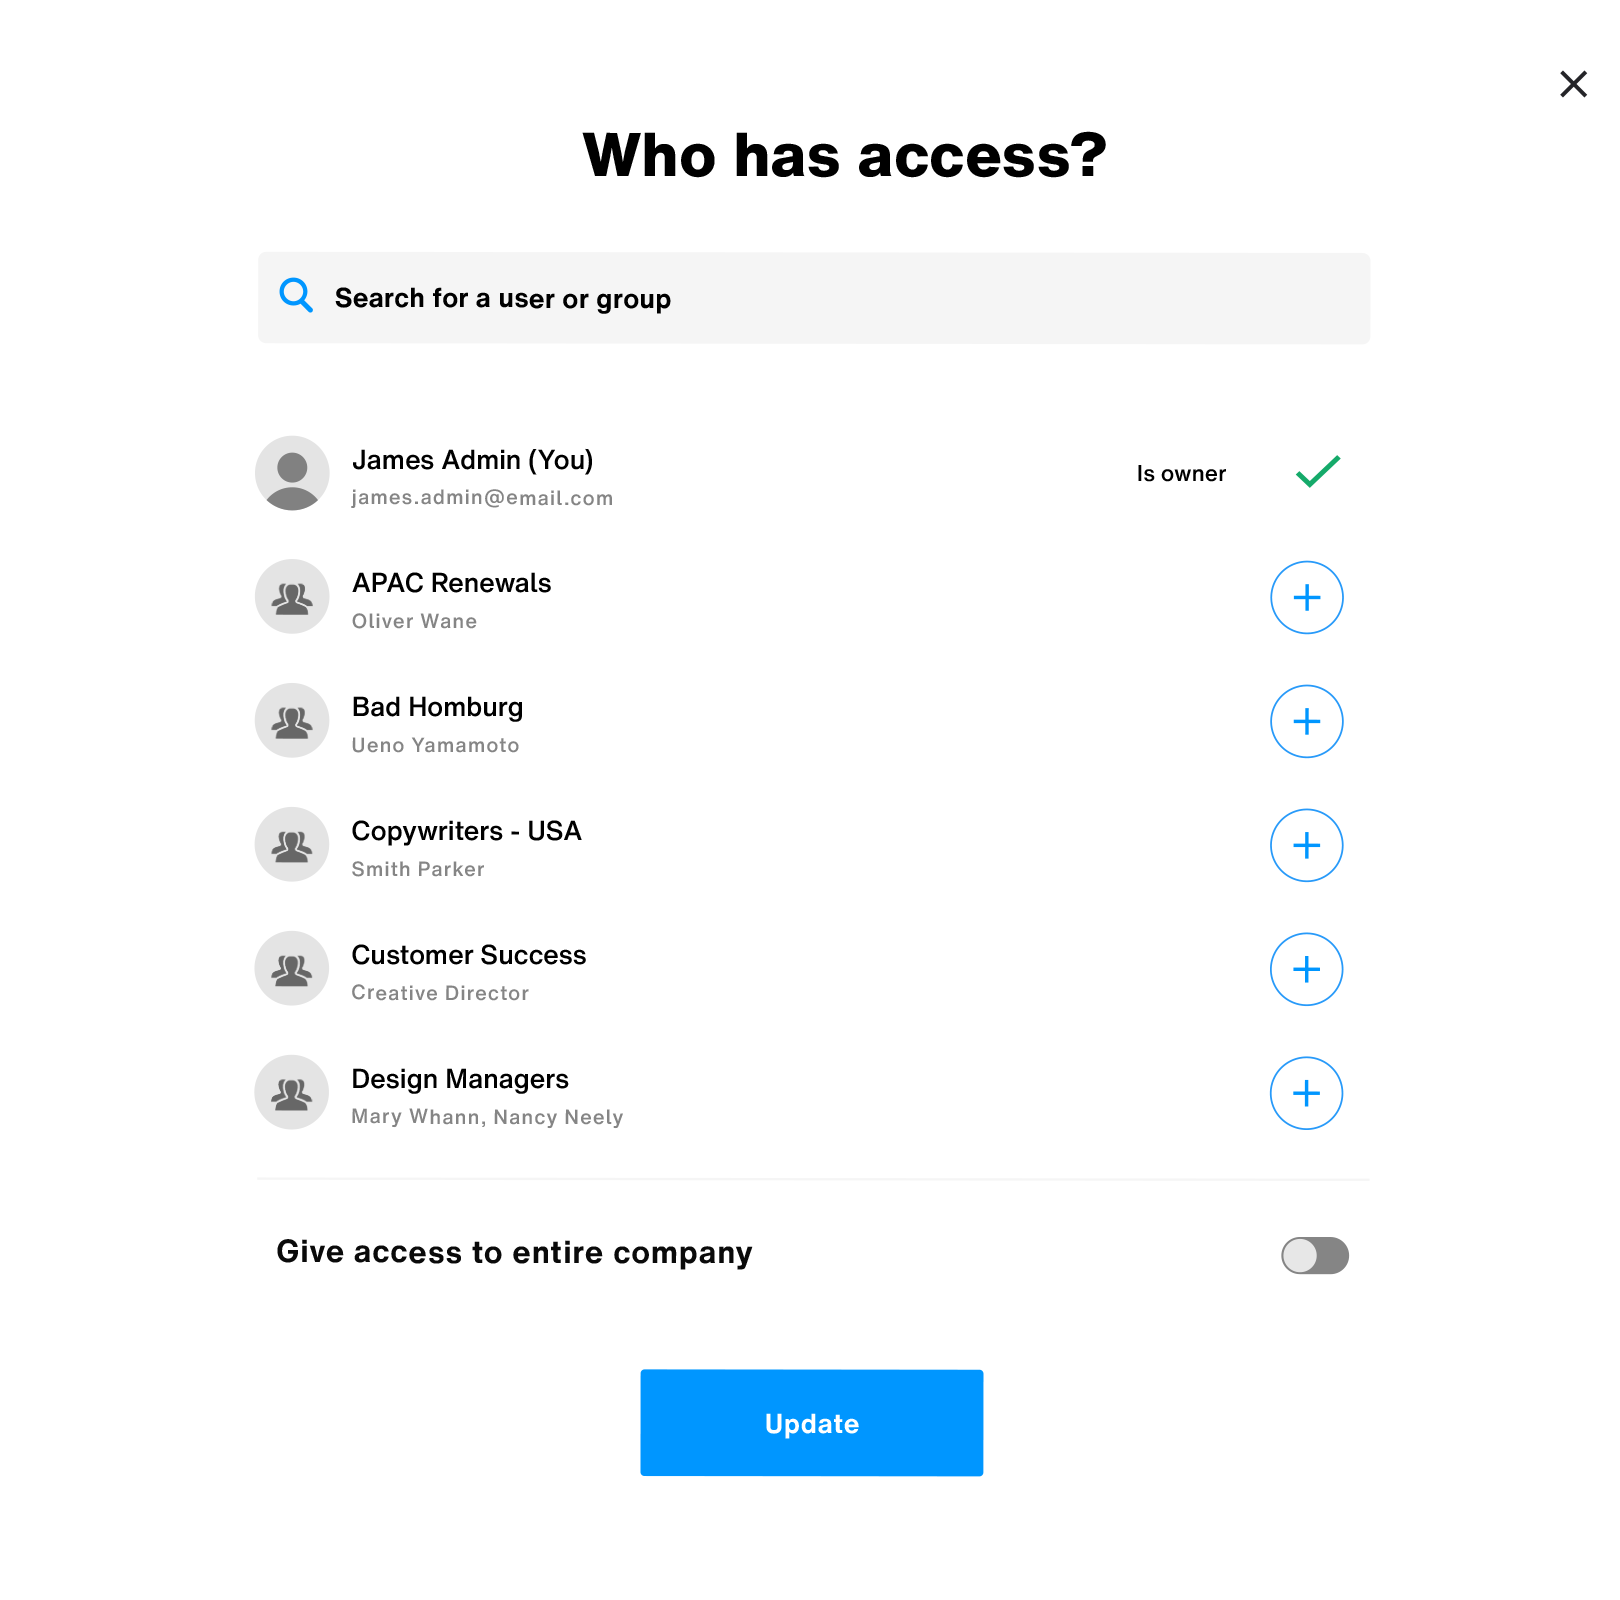
This brings up the share access dialog, as shown below:
-
From the share access dialog, you can grant access to multiple users and teams at once. You can also look for users and teams by name by using the search bar at the top.
-
Additionally, you may choose to grant access to a third-party font or family to your entire Company by simply clicking on the Give access to entire company toggle switch.
-
Once done, click the Update button to provide access to the selected user base.
You can also grant access to individual fonts by simply expanding a family row and clicking on the number field in a font row under the Access column, and following the steps outlined above.
Revoking access.
-
Similar to the steps outlined above, in the Access column, start by clicking on the number field in a font or family row to bring up the share access dialog.
-
Users and teams with access to the font or family are denoted by a checkmark against their names.
-
Hovering over the checkmark switches it to a cross icon as shown below. Clicking on this will revoke access for the selected user or team.
-
Once done, click the Update button.
Uploading licensing documents.
And now, let’s take a look at how you can upload EULAs and other supporting documents to keep track of font installations and sharing in adherence to your license agreements. Here’s how:
-
In the Docs column, click on the + button in a family row. This will launch the file browser on your system for you to locate license documents.
-
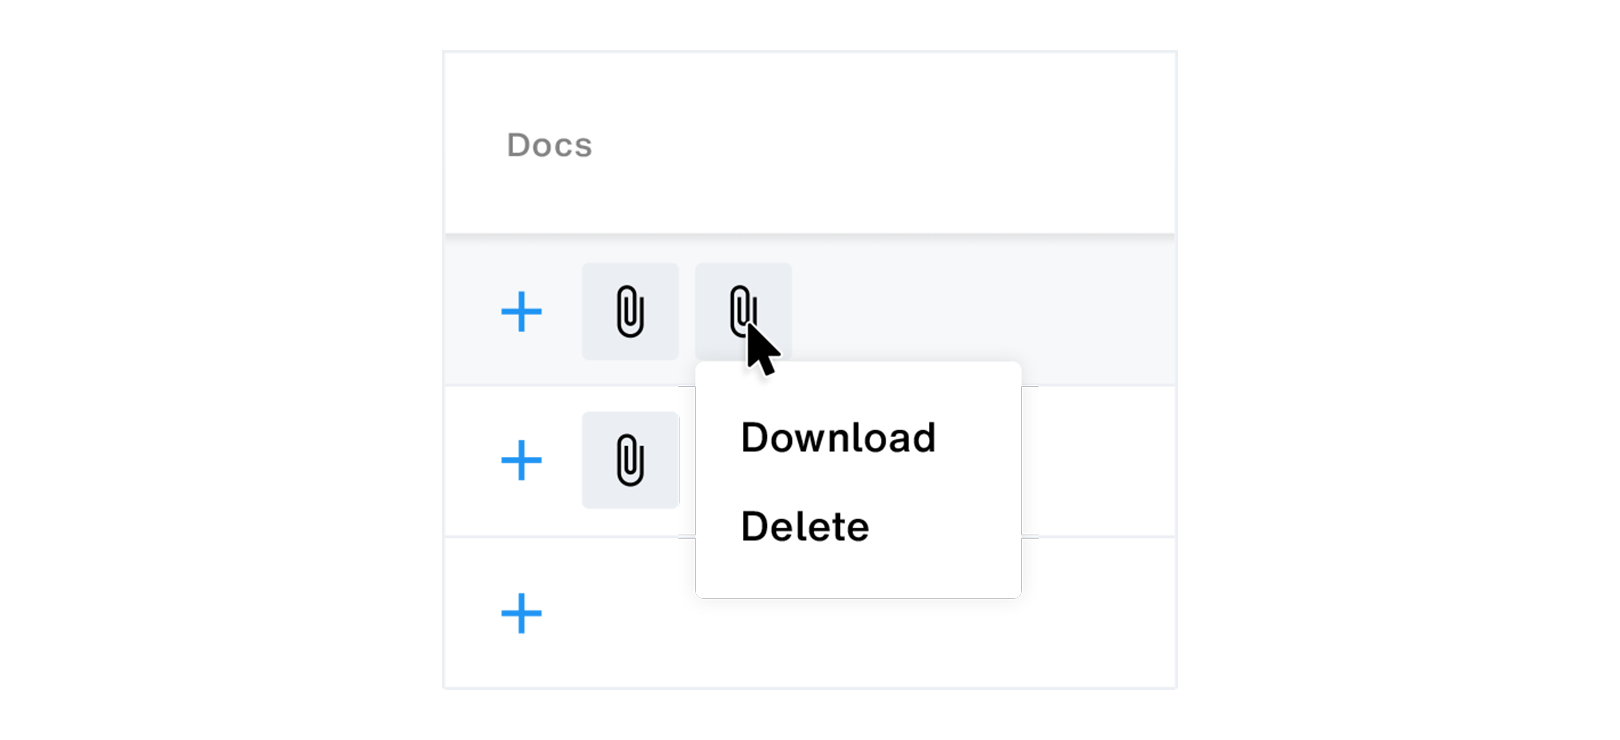
Once uploaded, your documents are displayed in the family row under the Docs column, as shown below:
-
You can click on the paper-clip icon to either download or delete a supporting document, as shown below:
You can also upload supporting documents pertinent to individual fonts by expanding a family row and clicking on the + button in a font row and following the steps outlined above.
Quick information.
-
You may upload up to 5 supporting documents per family. Additionally, you may upload up to 5 documents per font.
-
Document uploads are limited to a maximum file size of 20 MB per document.
-
Accepted file formats — PDF (.pdf), TXT (.txt), ODT (.odt), JPG/JPEG (.jpg/.jpeg), PNG (.png), TIFF (.tiff), XLS/XLSX (.xls/.xlsx) and XML (.xml)
