Working with font lists & folders.
What are font lists?
Font lists are one of the many font grouping tools you have at your avail when it comes to organizing your Library. Add fonts to font lists to share them with the people working with you on your creative projects—teams and individuals alike.
Folders.
Use folders and subfolders to organize your font lists, web projects and digital ads neatly within a multi-level, nested hierarchy.
Note: Fonts can not be added directly to folders or subfolders. They must first be a part of a font list, web project or digital ad.
In this article, we will take a look at the following topics:
Creating a font list.
-
To create a font list, begin by clicking on the Create new button in the sidebar.

-
Next, select Font list from the “Create new” dialog.

-
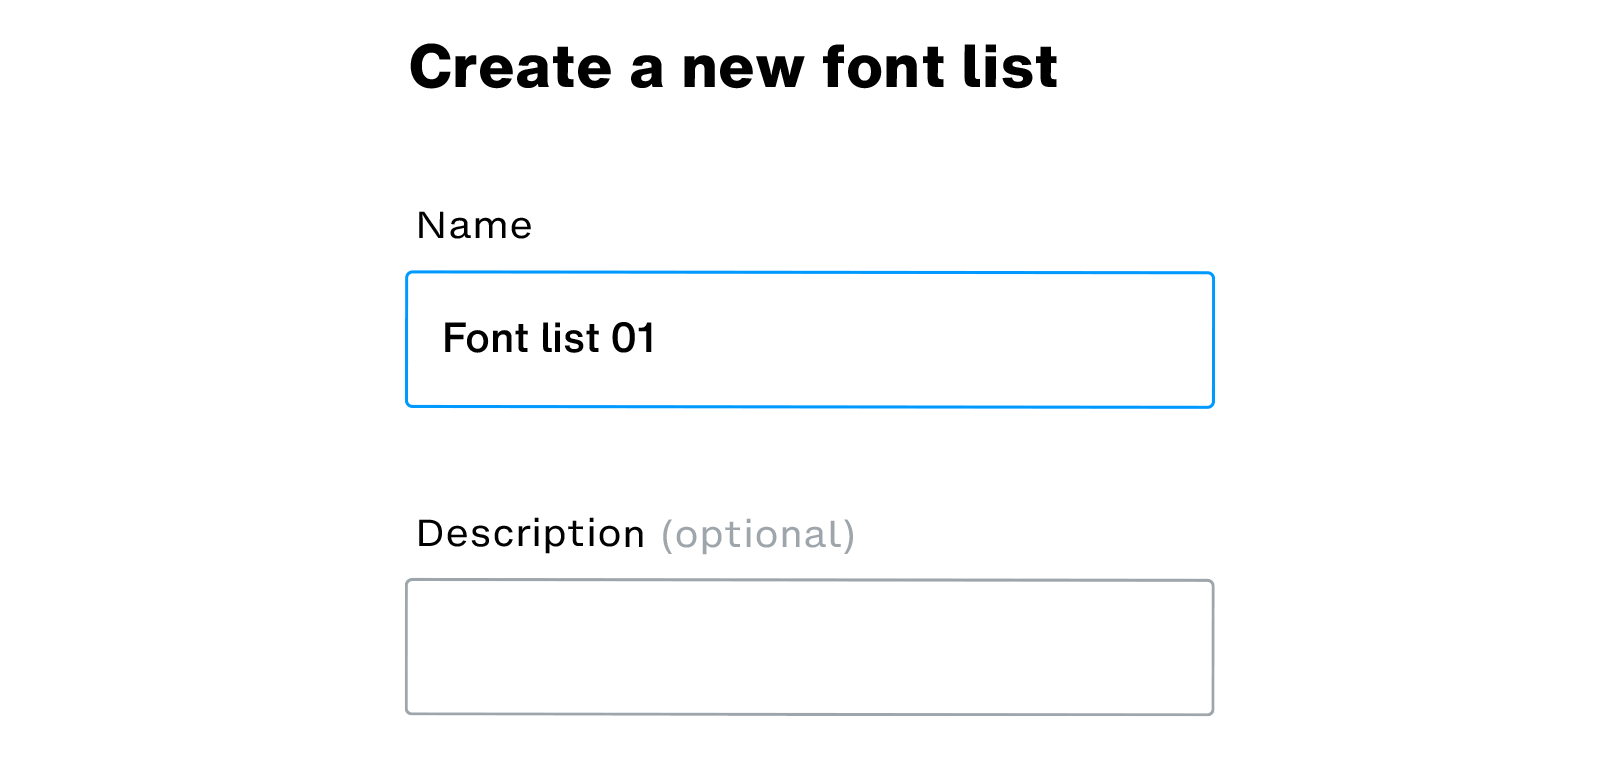
Enter a Name, and optionally, a Description for your font list.
-
Finally, click on the Create button.

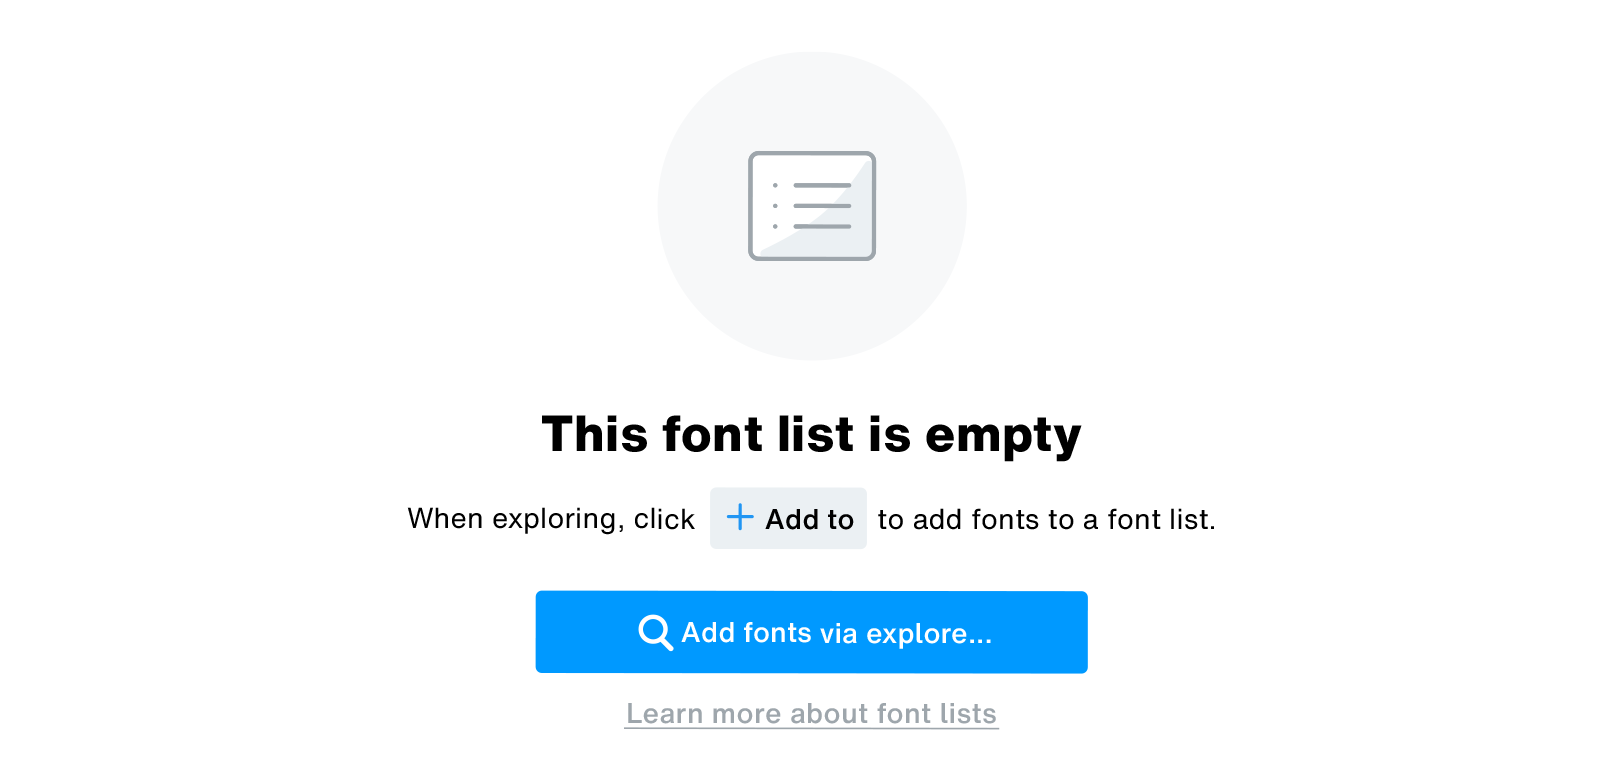
Your new font list will appear in the sidebar. Click on it to open it in the main view and start adding fonts to your new font list.
Adding (and removing) fonts in a font list.
You can add fonts in your font lists from anywhere you encounter the Add to button on a screen throughout your font discovery & management journey. Here are a few examples:
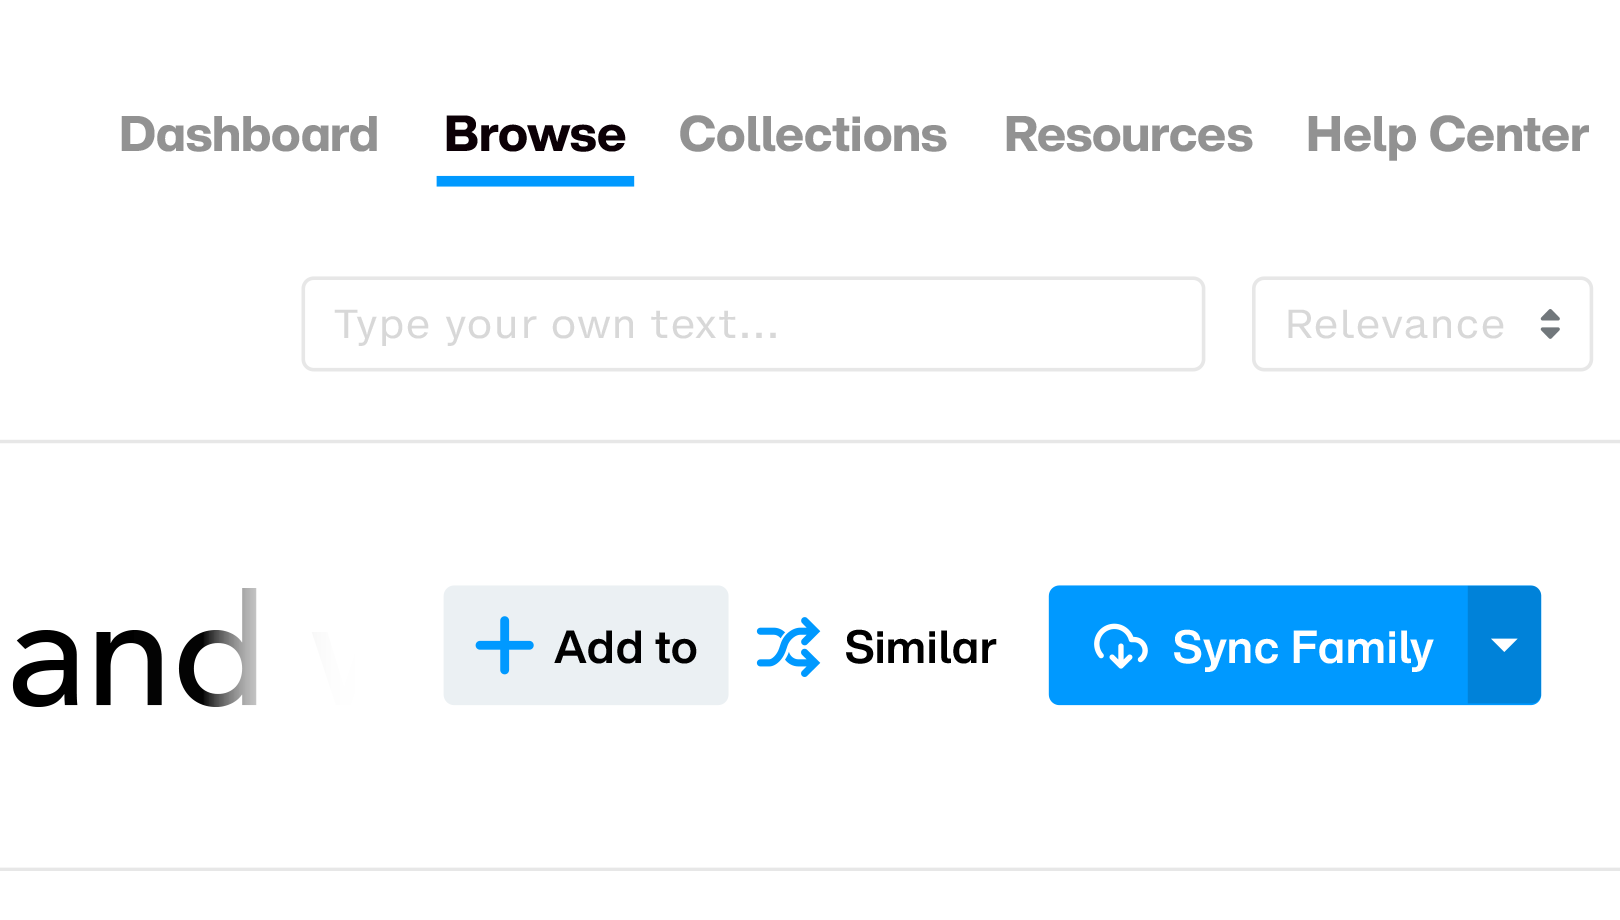
From the Browse section.
When discovering new fonts in the Browse section, hover over a font row and click on the Add to button.
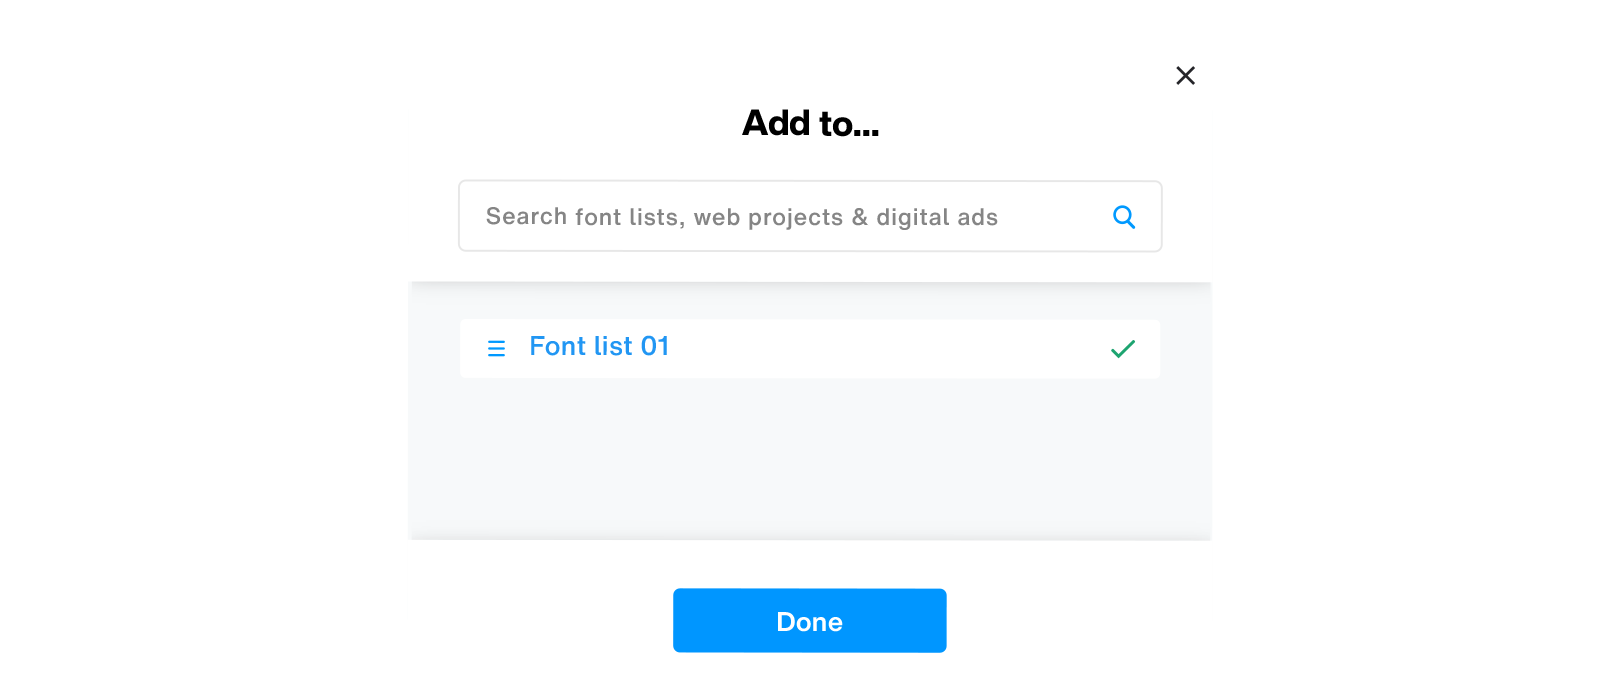
This will bring up the “Add to” dialog. Select the font list(s) you’d like to add fonts to.
From font and family pages.
The Add to button can also be found on all font and family pages. Click on it to add the selected fonts and families to your font lists.
From search results.
Hover over a font row within your search results to find the Add to button.
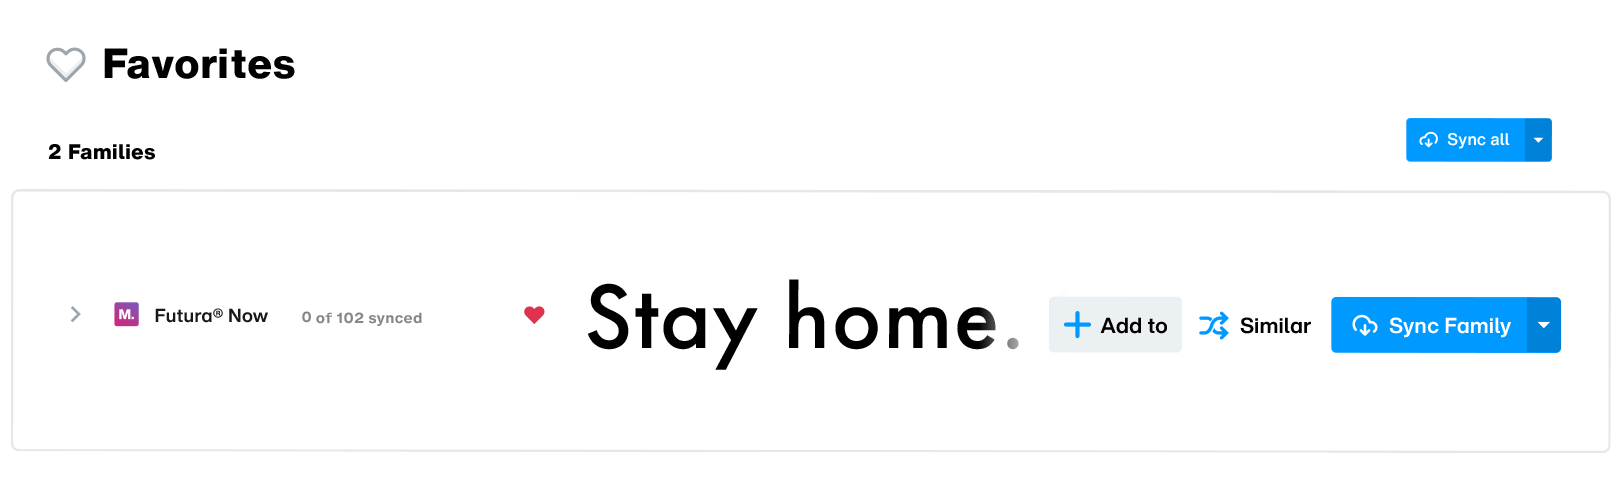
From your Favorites.
You can also add fonts to your font lists when accessing your Favorites within your library. Here again, simply hover over a font row to find the Add to button.
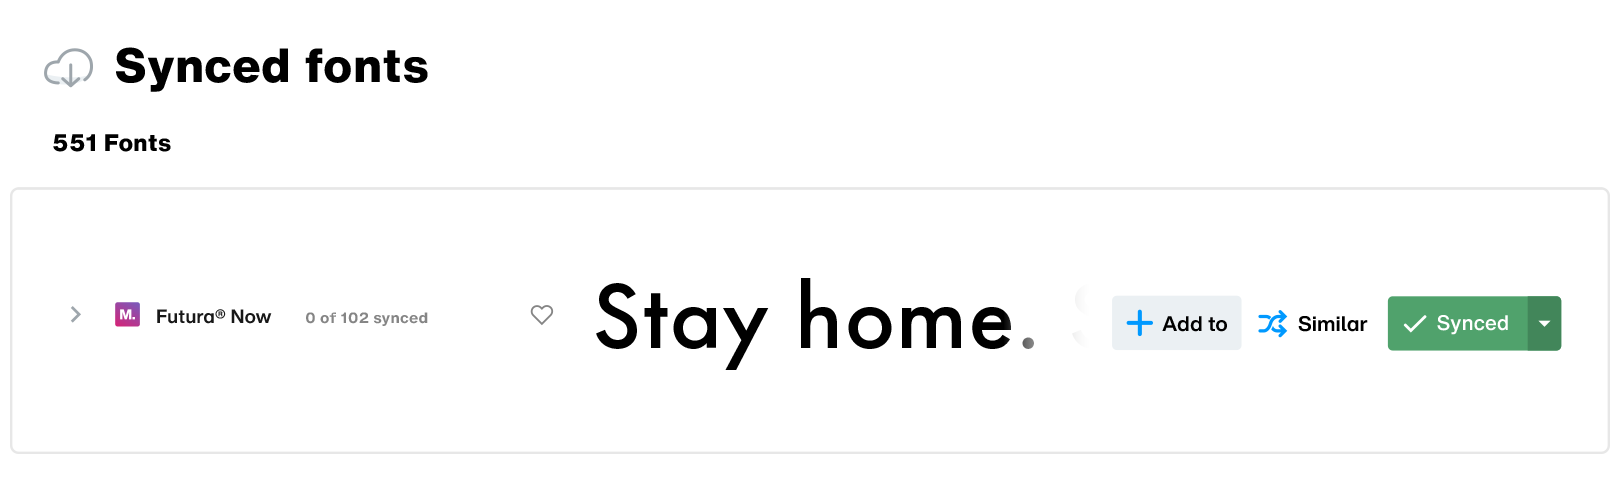
From your “Synced fonts” list.
Add fonts you’ve already synced, and work with, to your font lists for easy sharing and distribution within your creative teams. Hover over a font row within the Synced fonts view and click on the Add to button.
From one font list to another.
You can add fonts from one font list to another by simply clicking on a font list, and then hovering over a font row to find the Add to button.
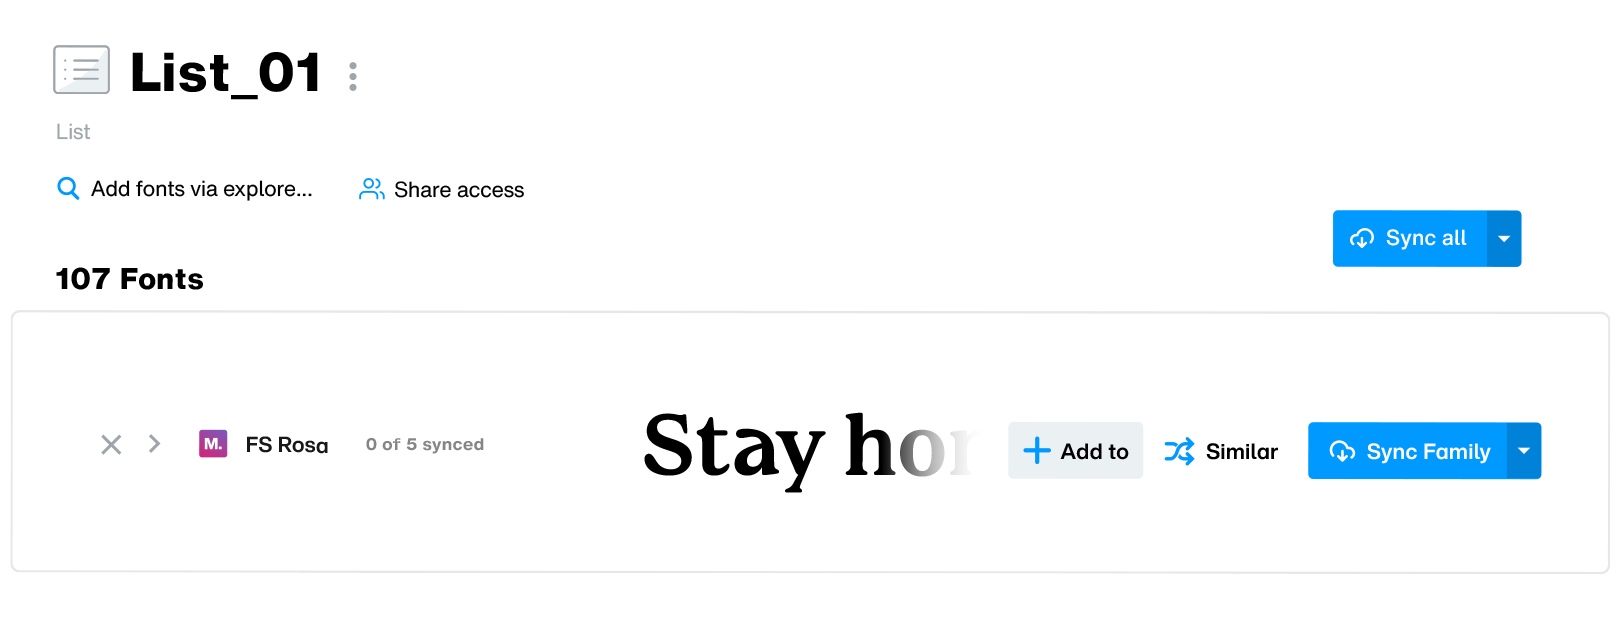
Removing fonts from a font list.
You can remove fonts from your font lists by simply hovering over a font row and clicking on the cross-shaped Remove icon at the left end of the row.

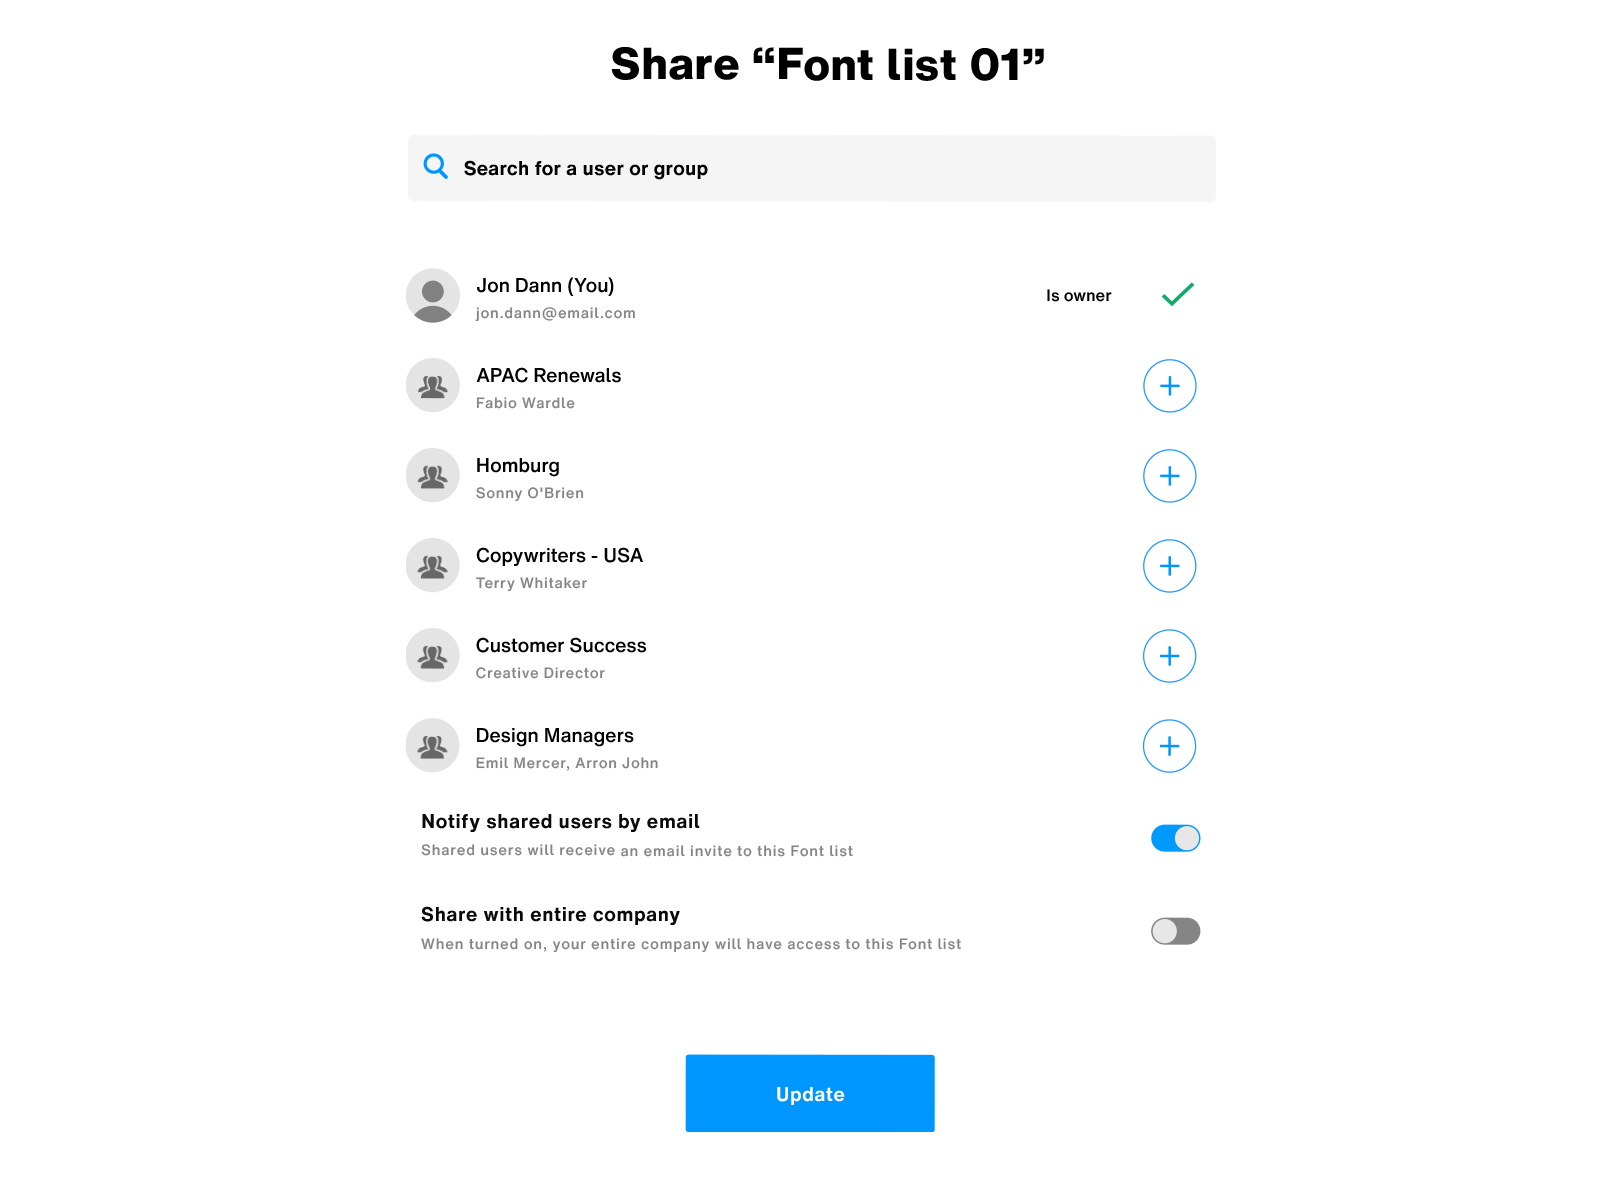
Sharing, revoking and defining access level for a font list.
You can ensure visual consistency in your projects by sharing font lists with your teams so everyone has the correct font when they design. Once shared, your team members will be able to use the Monotype App to sync and activate fonts with a single click. Know more about syncing and installing fonts with the Monotype App here.
Sharing and granting access to a font list.
-
To share a font list, open a font list by clicking on it in the left sidebar.

-
Once the font list is open in the main view, click on the Share access button to bring up the sharing dialog.

-
In the sharing dialog, select teams and individuals to share the font list by clicking on the + button next to their names. You can also search for specific teams or individuals by using the search bar in this dialog.
-
Once you’ve added users to a font list, you can also define their access level by clicking on the access-level drop-down menu that appears against their name. This is set to View only by default, but can be changed to any of the following levels:

-
Is owner.
Users with “Is owner” access can:-
Sync, unsync and download fonts contained in the shared font list.
-
Add fonts to the shared font list.
-
Add fonts from the shared font list to another font list.
-
Share the font list with other users providing either “Can edit” or “View only” access.
-
Remove fonts from the shared font list.
-
Edit the shared font list—edit the Name and Description for the shared font list.
-
Duplicate the shared font list.
-
Delete the shared font list.
-
Search for similar fonts.
-
-
Can edit.
Users with “Can edit” access can:-
Sync, unsync and download fonts contained in the shared font list.
-
Add fonts to the shared font list.
-
Add fonts from the shared font list to another font list.
-
Share the font list with other users providing either “Can edit” or “View only” access.
-
Remove fonts from the shared font list.
-
Duplicate the shared font list.
-
Search for similar fonts.
-
-
View only.
Users with “View only” access level can:-
Sync, unsync and download fonts contained in the shared font list.
-
Add fonts from the shared font list to another font list.
-
Search for similar fonts.
-
-
You can also choose to notify users you’ve shared your font list via email using the Notify shared users by email option toggle-switch.

You may also choose to share a font list with your entire company in one go by clicking on the Share with entire company toggle-switch.

Once you’re ready, click on the Update button for changes to take effect.

Revoking access to a font list.
-
To revoke a user’s access to a shared font list, open the sharing dialog and search for the user or team, and hover over the checkmark icon next to their name.

-
This will toggle the checkmark icon to a cross-shaped Remove access button. Click on it to revoke access.

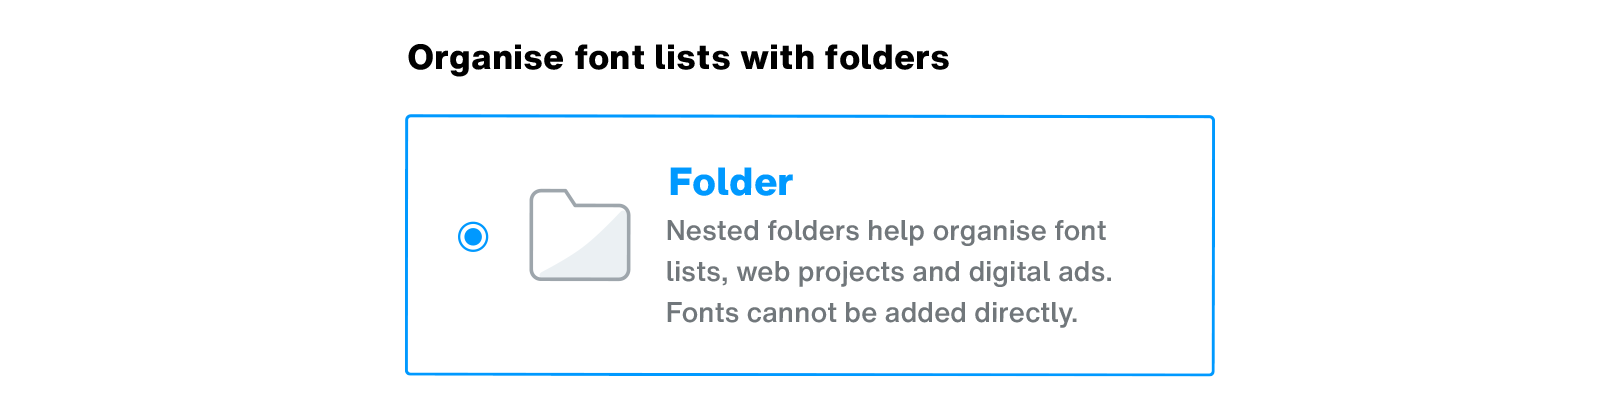
Creating folders and subfolders.
You can streamline your font library by organizing your font lists, web projects and digital ads in multi-level, nested folder structures. Let’s take a look at creating folders and subfolders in your library.
Note: Folders and subfolders can only contain font lists, web projects and digital ads. Fonts cannot be directly added to folders.
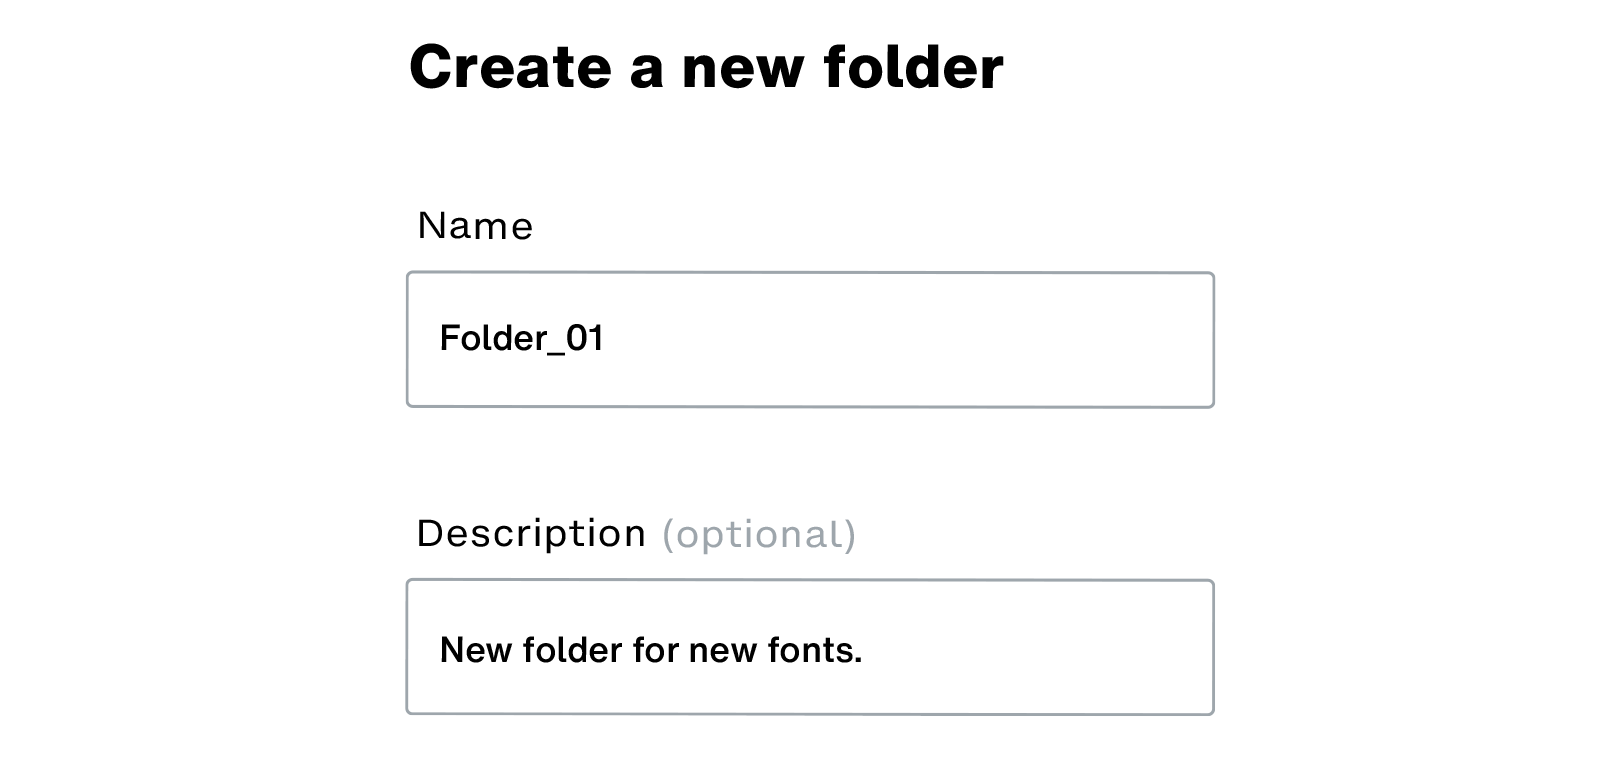
Creating a folder.
-
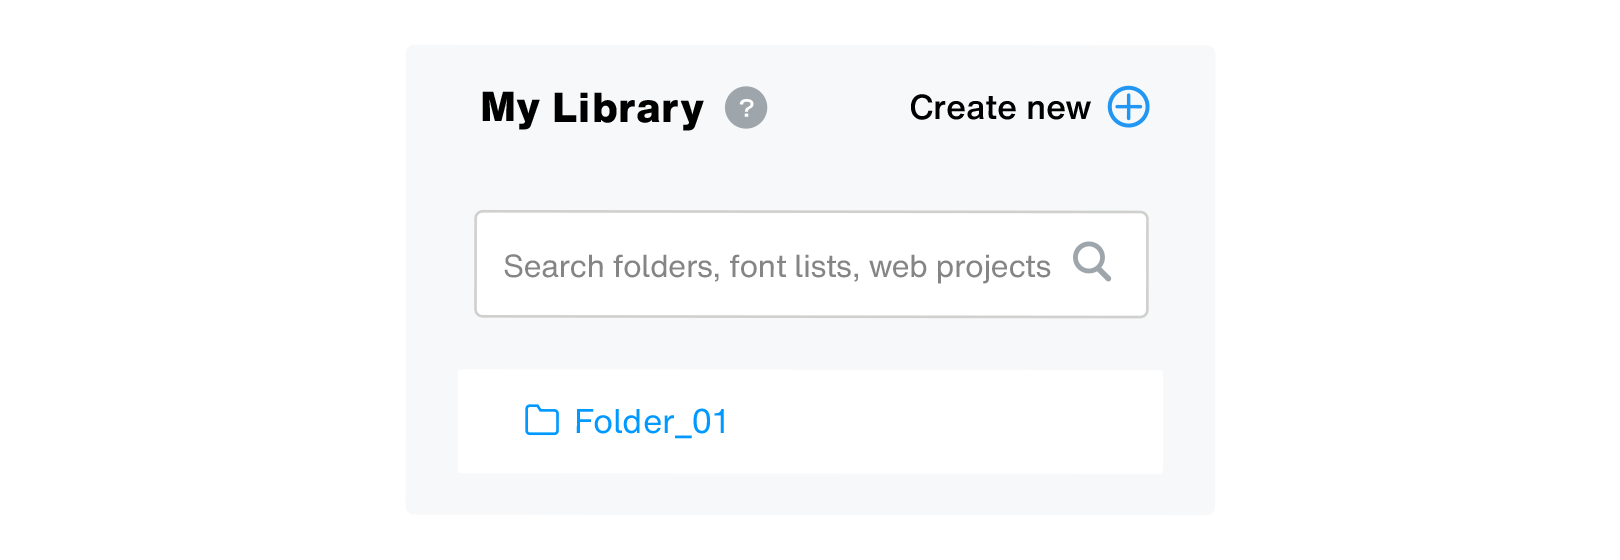
To create a folder, as usual, begin by clicking on the Create new button in the left sidebar.

-
In the “Create new” dialog, click on the Folder option.
-
Next, give your folder a Name, and optionally, a Description.
-
Once done, click on the Create button to finish creating your new folder.

Your new folder appears in the left sidebar. Click on it to open it in the main view on the right.
Creating a subfolder inside an existing folder.
-
To create a subfolder within an existing folder, begin by clicking on one of your folders in the left sidebar.

-
Next, click on the Add folders, font lists… button underneath where the folder name is displayed in the main view.

-
In the “Create new” dialog, click on the Folder option.

-
Next, give this subfolder a Name, and optionally, a Description.
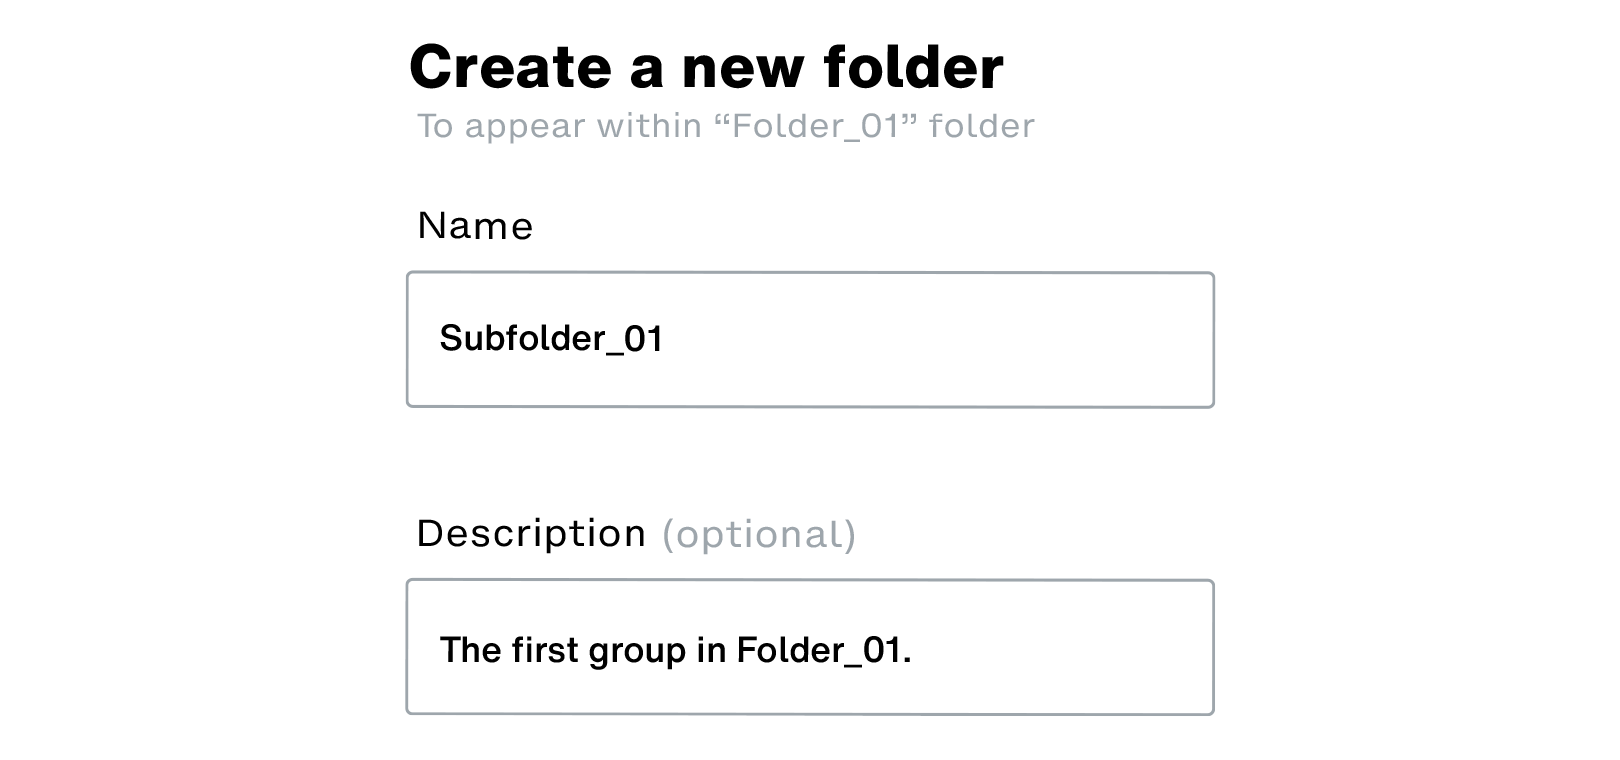
-
Once done, click on the Create button to finish creating your new subfolder.

You will see your subfolder appear, under a new “Folders” header, inside the parent folder already open in the main view.
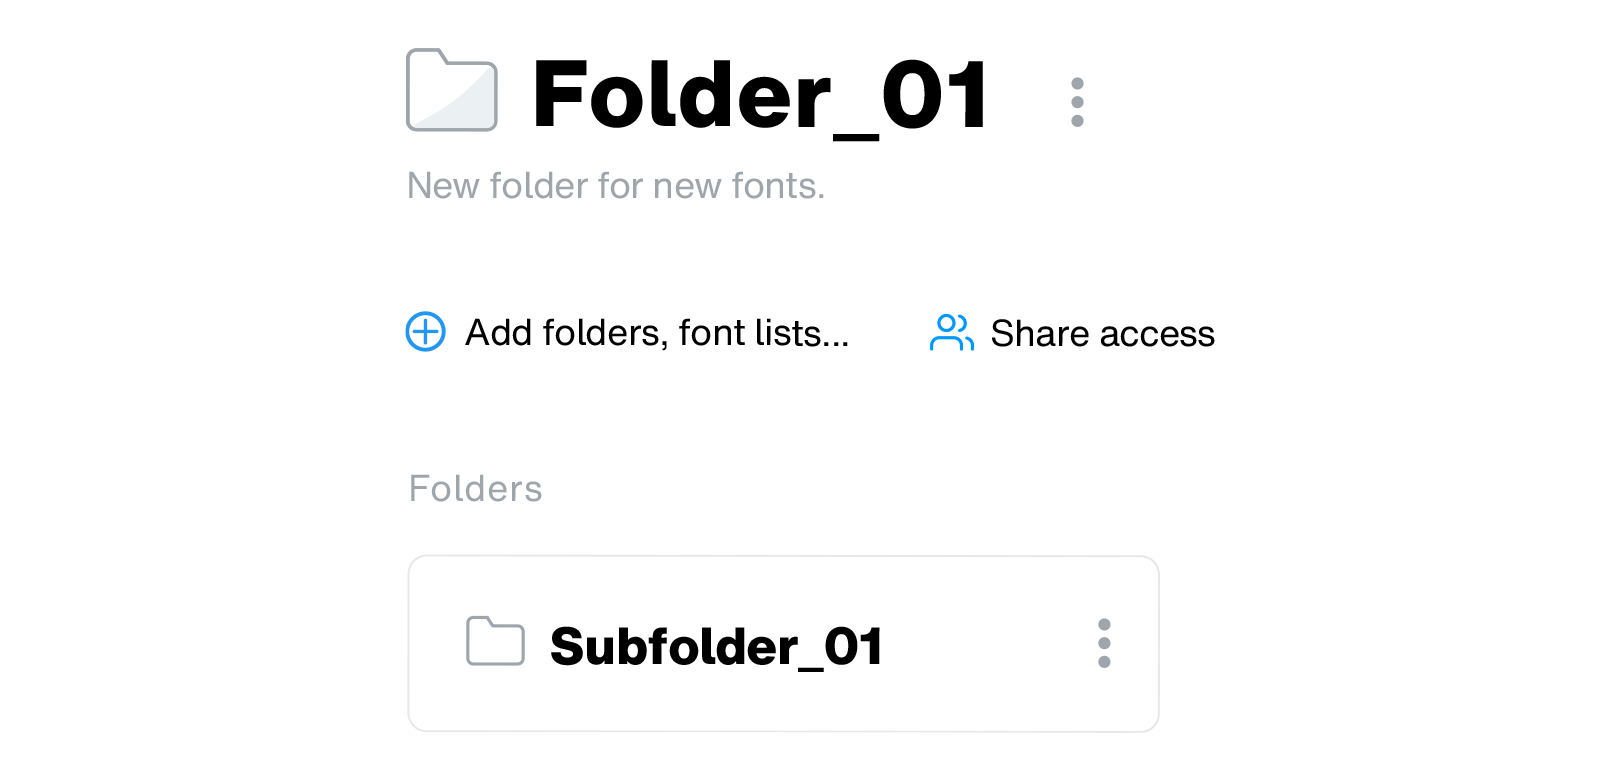
You will also be able to see an Expand icon appear beside your parent folder’s name in the left sidebar. Click on it to see an expanded view of your new folder hierarchy.

Tip.
As you may have noticed, you can follow the steps outlined above to create anything—font lists, web projects and digital ads directly from within a folder or even a subfolder.
Moving folders.
You can move a root level folder inside another folder, or move subfolders from one parent folder to another when organizing your library.
-
Begin by clicking on a folder in the left sidebar to open it in the main view on the right.

-
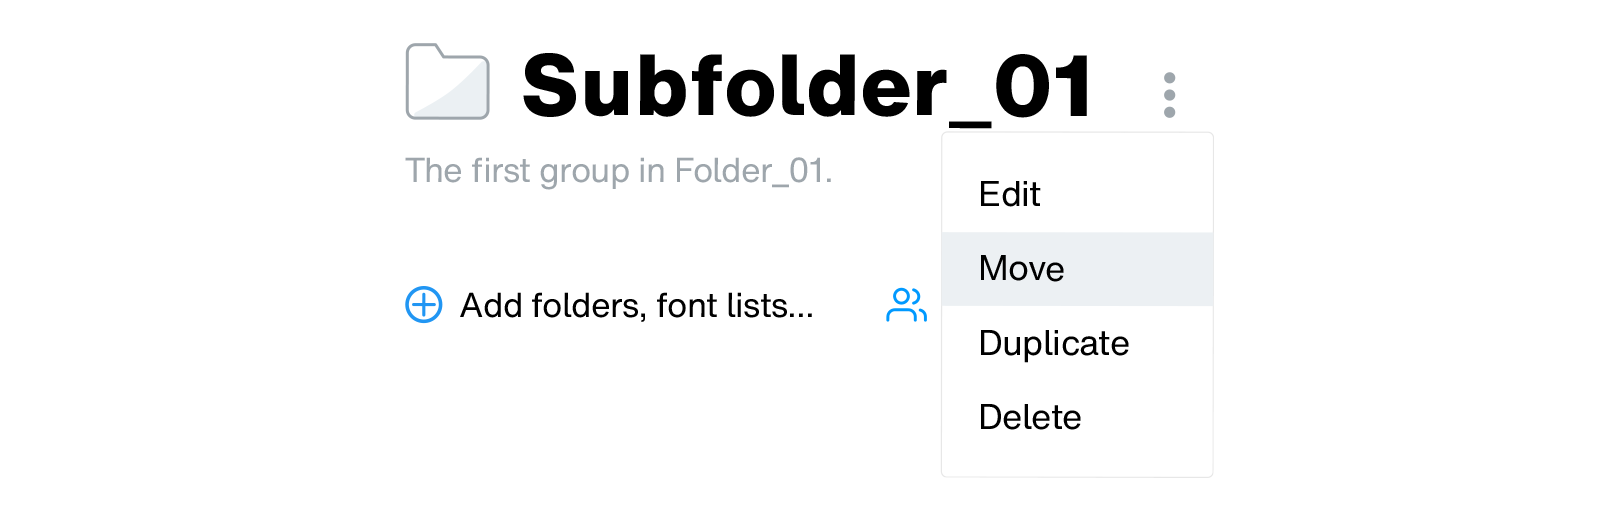
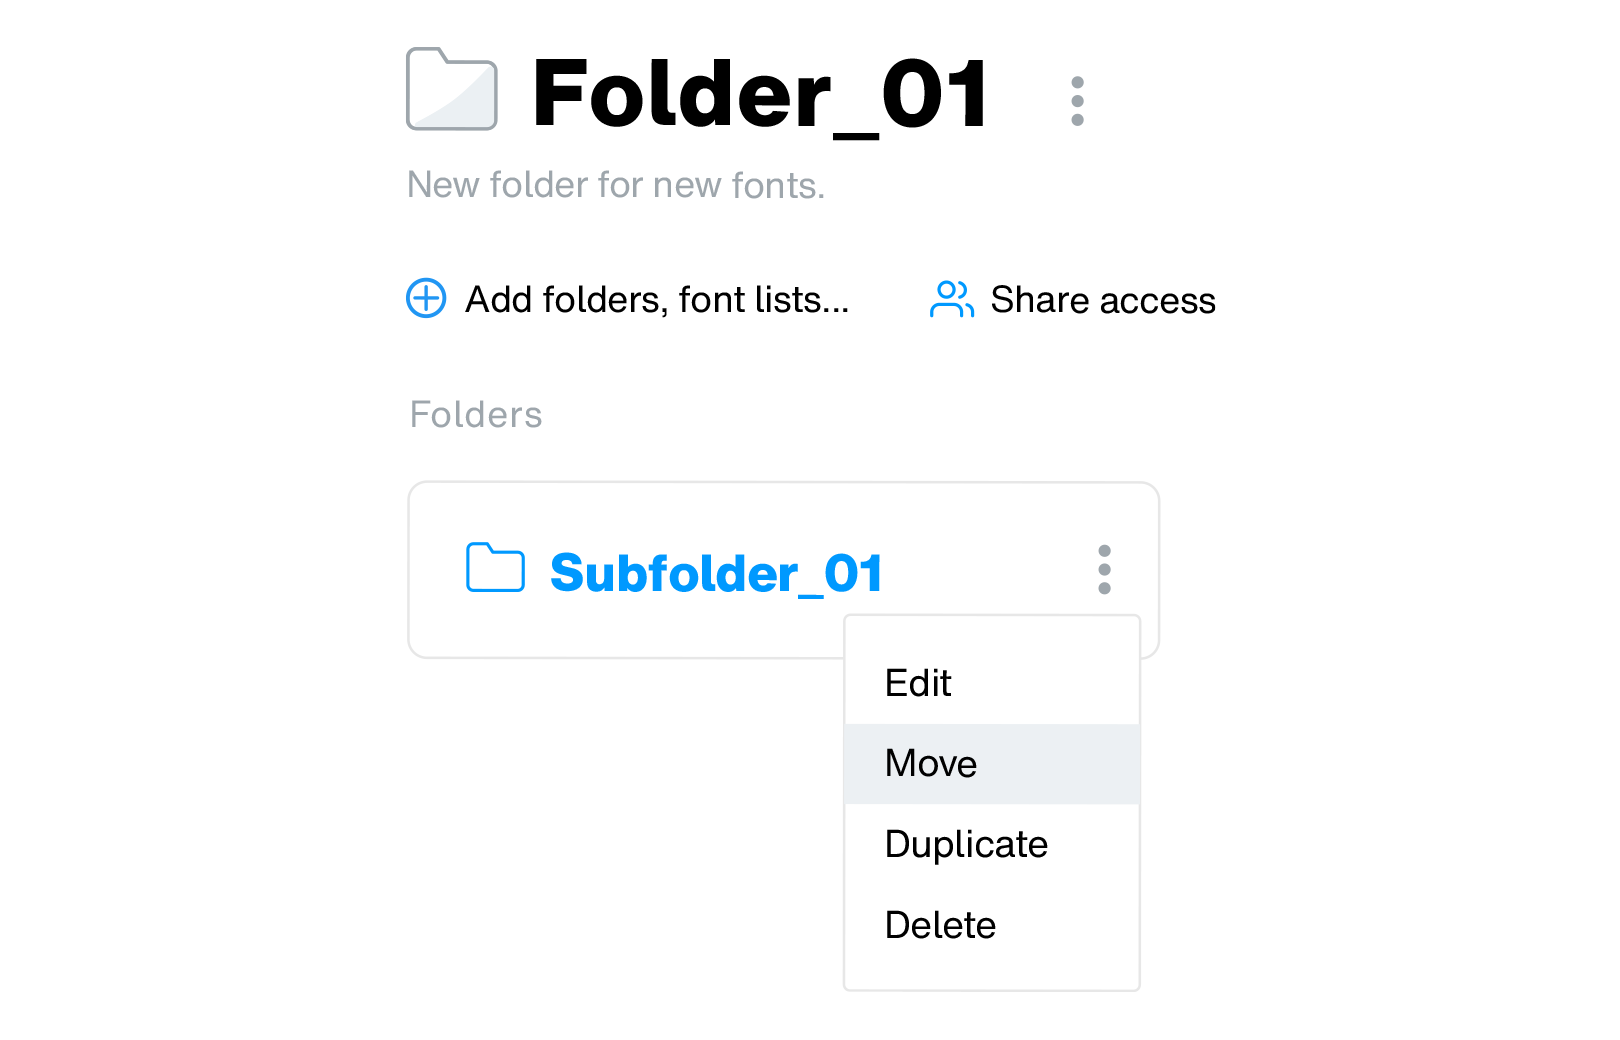
Click on the ellipses (⋮) icon beside the folder’s name to bring up the action menu.

-
From the action menu, click on Move.
-
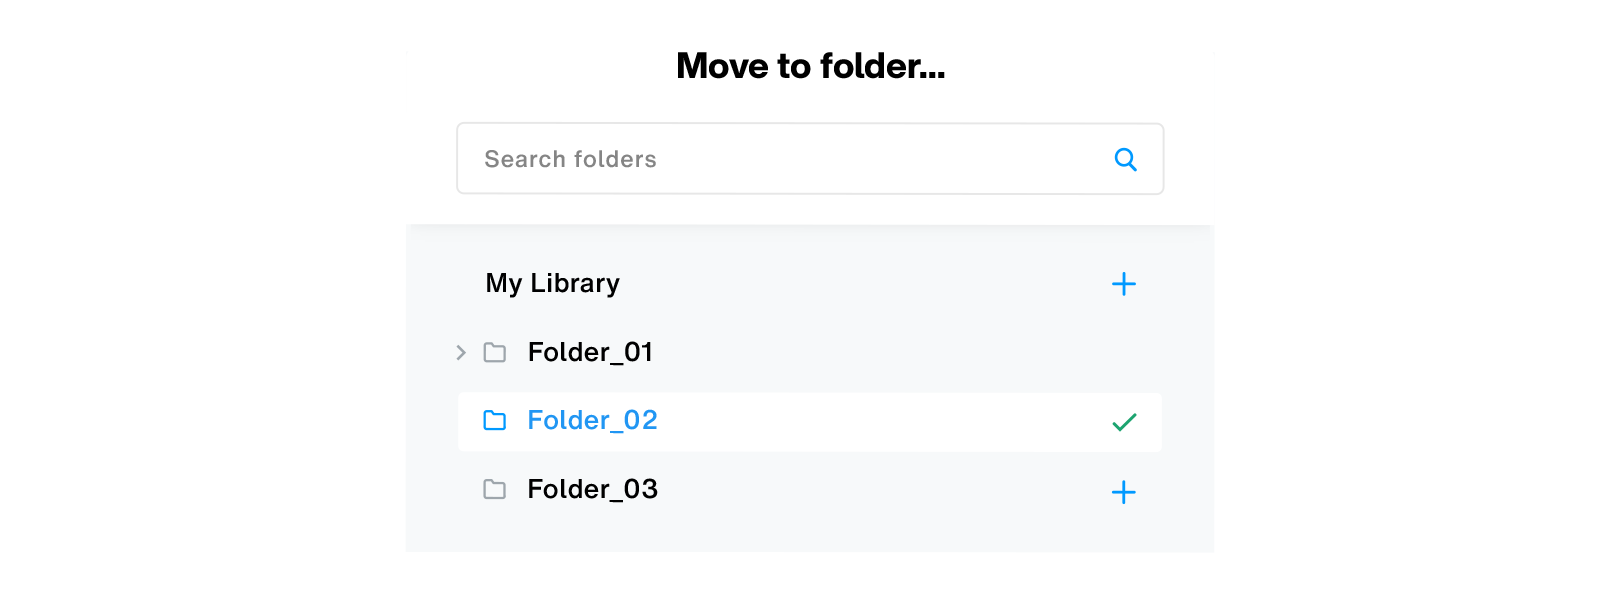
In the “Move to folder…” dialog, select a folder you’d like to move your current folder to. You can also search for a particular folder by using the search bar at the top of this dialog.

-
Once you’ve selected the destination folder, click on the Done button for changes to take effect.

Note: A folder, once moved inside another folder, will inherit sharing access from its new parent folder.
Tips.
-
For subfolders, the action menu can also be accessed directly from the listing view when viewing a parent folder.
-
You can move a folder back to the root-level by selecting My Library from the “Move to folder…” dialog

Moving a font list inside a folder.
-
Begin by clicking on a font list from the left sidebar.

-
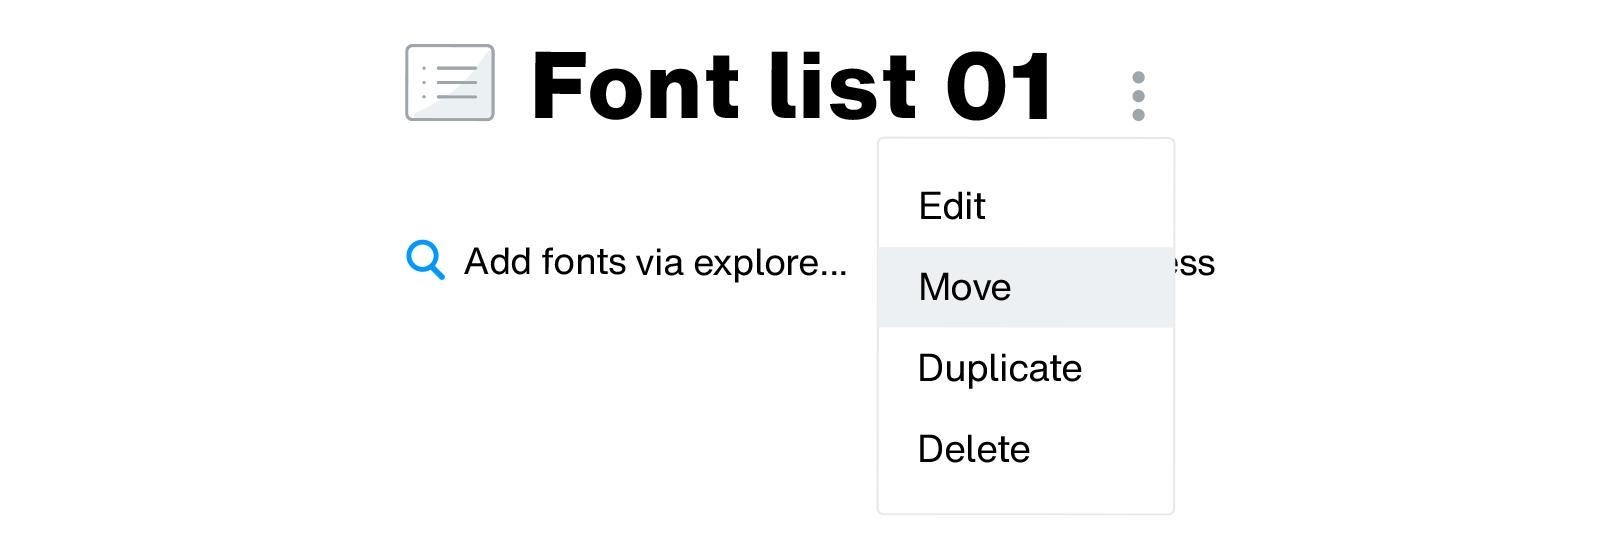
Click on the ellipses (⋮) icon beside the font list’s name to bring up the action menu.

-
From the action menu, click on Move.
-
In the “Move to folder…” dialog, select a folder you’d like to move your font list to. You can also search for a particular folder by using the search bar at the top of this dialog.
-
Once you’ve selected the destination folder, click on the Done button for changes to take effect.

Note: A font list, once moved inside a folder, will inherit sharing access from its new parent folder.
Tip.
You can move a font list back to the root-level by selecting My Library from the “Move to folder…” dialog.

Sharing folders.
Similar to sharing font lists, you can also share folders with your teams providing them access to all font lists, web projects and digital ads contained within a shared folder.
Sharing and granting access to a folder.
-
Begin by clicking on a folder from the left sidebar.

-
Once the folder is open in the main view, click on the Share access button to bring up the sharing dialog.

-
In the sharing dialog, select teams and individuals to share the folder with by clicking on the + button next to their names. You can also search for specific teams or individuals by using the search bar in this dialog.

-
Once you’ve added users to a folder, you can also define their access level by clicking on the access-level drop-down menu that appears against their name.

-
You can also choose to notify users you’ve shared your folder with via email using the Notify shared users by email option toggle-switch.

-
You may also choose to share a folder with your entire company in one go by clicking on the Share with entire company toggle-switch.

-
Once you’re ready, click on the Update button for changes to take effect.

Revoking access to a folder.
-
To revoke a user’s access to a shared folder, open the sharing dialog and search for the user or team, and hover over the checkmark icon next to their name.

-
This will toggle the checkmark icon to a cross-shaped Remove access button. Click on it to revoke access.

Font lists & folders: More options.
And now, let’s take a look at a few more actions you can perform with font lists and folders.
Edit a font list/folder.
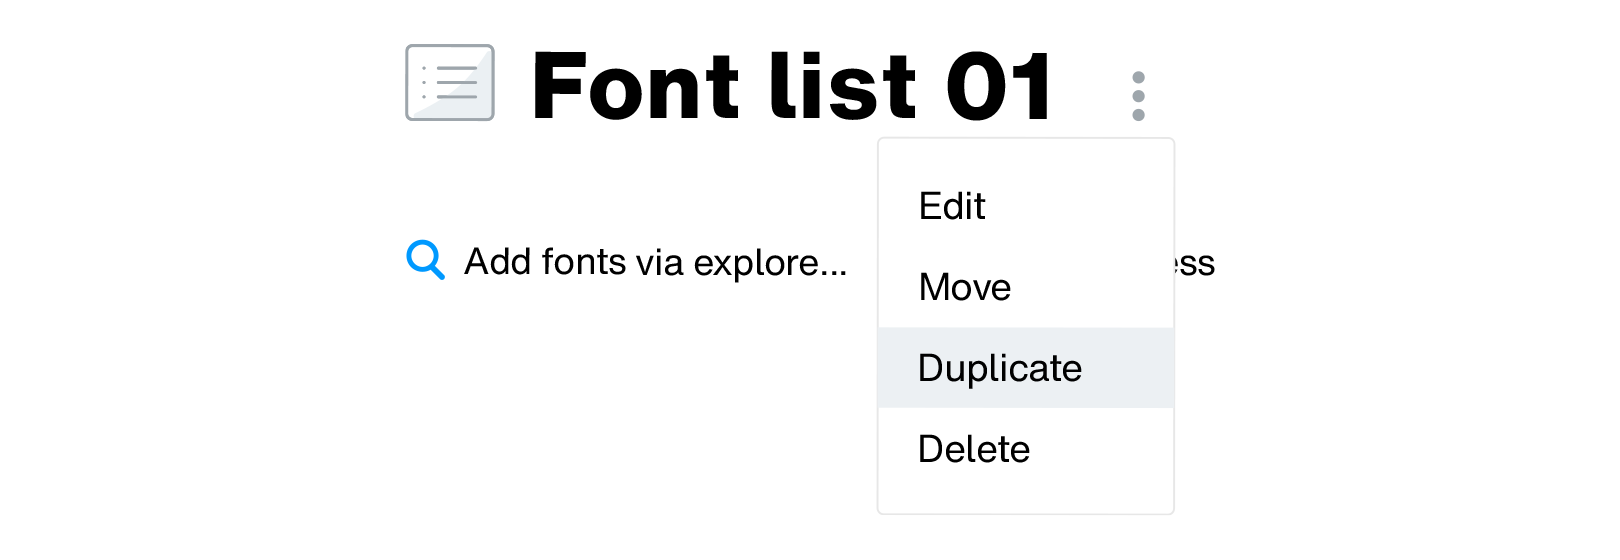
You can edit the Name and Description for font lists and folders by clicking on the ellipses (⋮) icon beside their name and selecting Edit from the action menu.

Duplicate a font list/folder.
You can duplicate an existing font list or folder by clicking on the ellipses (⋮) icon and selecting Duplicate from the Action menu.
The duplicated font list or folder is created within the folder they are originally contained in. For font lists and folders residing at the root level, duplicates appear at the root level in the sidebar.
You can perform the actions listed above if:
-
You are the original owner/creator of the font list or folder.
-
You have “Is owner” or “Can edit” access to the font list or folder.
Delete a font list/folder.
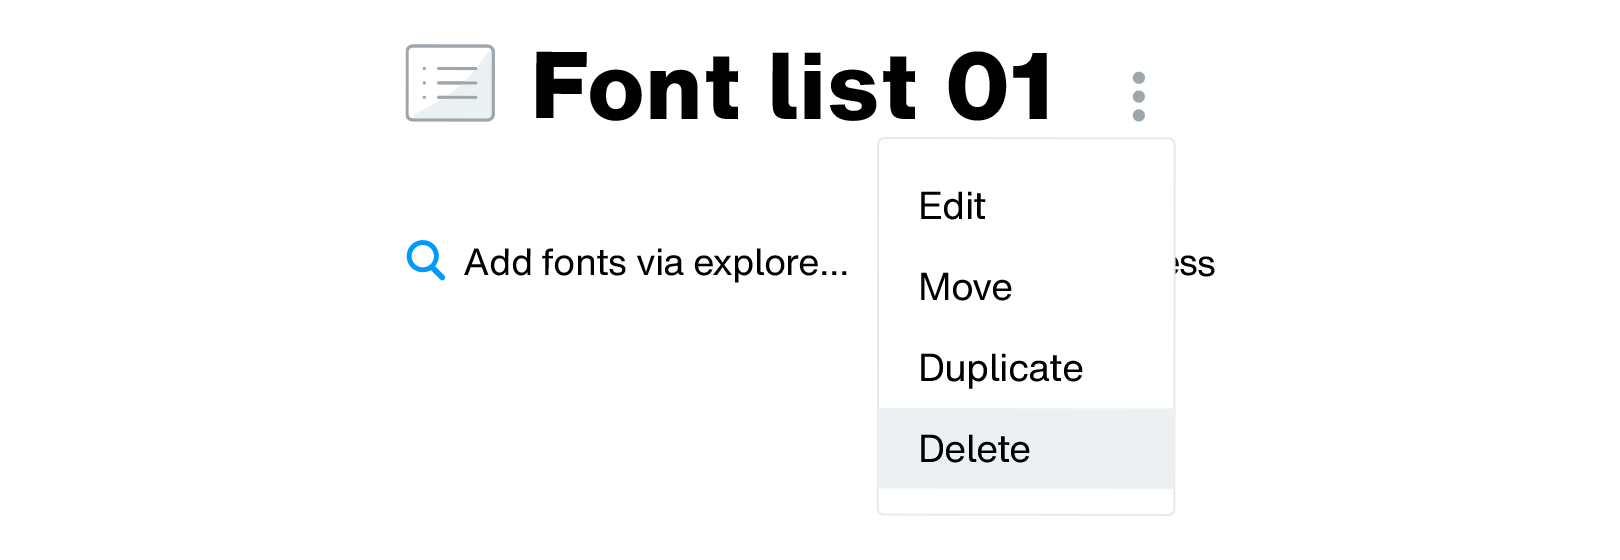
You can also delete a font list or a folder by simply clicking on the ellipses (⋮) icon and clicking on Delete in the action menu.
You can delete a font list or a folder only if:
-
You are the original owner/creator of the font list or folder.
-
You have “Is owner” access to the font list or folder.
Download & contact.


Contact us.
Thank you for contacting us.
One of our support team members will contact you via email shortly.
Related content

My Library: Overview.
My Library is where your fonts and your creative projects come together to create an organized, visual map of all the things you’re working on, whom you’re working with and where your fonts are making an impact.

Working with digital ads.
Very much like web projects, digital ads in Monotype Fonts are another grouping option for organizing your font library and preparing your web fonts for use in HTML5 ads. They provide the same subsetting and font-hosting capabilities as web projects with the exception of monitoring usage of your fonts based on Impressions your HTML5 digital ads make when you deploy them on various ad-networks